Last updated November 18, 2026








Free written scope consultation - allowances, timeline, and change-order rules on paper before a single trade is scheduled
Bathroom Remodeling Troubleshooting: Common Problems and How to Fix Them
Grout cracking in a newly tiled shower within 12 months is not a grout problem. It is a substrate deflection problem: the tile backer or the floor underneath it is moving, and the grout is simply the first thing to show the strain. Regrouting over a crack resolves nothing because the cause is still there, flexing under every step. To fix it, you have to find out whether the movement comes from a failed mortar bed, an unblocked joist, or tile set directly over drywall instead of cement board. This guide walks through the four post-remodel failures we see most in Henderson bathrooms, shows you the visual and moisture tests that point to the real cause, and explains how to pull your original permit and inspection records to find out whether the waterproofing was ever done correctly in the first place.
Quick Answer
Most bathroom remodel problems that show up after the contractor leaves trace back to one of two places: the waterproofing layer hidden behind the tile, or a ventilation system that was never sized for the room. Cracking grout, recurring mildew, caulk separation, and slow drains are all symptoms you can diagnose without opening a wall, using a tap test, a cheap moisture meter, and your original permit records. Once you know which one failed, the fix and the warranty claim path become clear.
Styles & brands we work with
- Kitchen remodeling
- Bathroom remodeling
- Home additions & ADU
- Roofing
- Windows & doors
- Driveway & pavers
- Fence
Table of Contents
- Why Is My New Grout Cracking?
- Why Does Mildew Keep Coming Back After a Remodel?
- Caulk Separation at the Tub: Normal Movement or Something Worse?
- Why Is My New Shower Draining Slowly?
- How to Pull Your Henderson Permit and Inspection Records
- The Warranty Landscape for Bathroom Materials
- A Moisture Investigation You Can Do Without Opening Walls
- The Henderson Exhaust Fan Problem: Why Your Bath Fan Is Too Small
Why Is My New Grout Cracking?
Cracking grout almost always signals movement beneath the tile, not a bad batch of grout. The trick is figuring out where the movement lives. Start with the tap test: take the handle of a screwdriver and tap gently across the tile field. A solid, dense sound means the tile is bonded to its backer. A hollow, rattly sound means the thinset has separated from the substrate, and that tile is loose even if it hasn’t popped free yet.
Run the tap test in a grid across the shower walls and floor, and mark every hollow-sounding tile with painter’s tape. Clusters of hollow tiles near a corner or along a seam tell a different story than one random hollow tile in the middle. Clusters point to deflection or a failed substrate joint; a single hollow spot may just be a thin spot in the thinset.
Next, check the deflection source. If the floor feels bouncy underfoot, the joist structure may be undersized for a tile installation, which is a framing problem no amount of grout will fix. If the cracking follows a straight line across the floor, look at where the backer board panels meet; backer joints that weren’t taped and mortared will telegraph a crack right up through the tile and grout.
One more check specific to older homes in Henderson: tile set directly over drywall instead of cement board. Drywall softens when it gets wet and offers no reliable bond for thinset, so tile laid over it in a wet area will eventually loosen and crack. If your remodel predates the current standard or the installer cut corners, this is a common culprit. The fix is a tear-out and re-set on cement board or an uncoupling membrane.
- Solid tap sound: tile is bonded; crack likely from grout shrinkage or minor movement.
- Hollow tap sound: adhesion failure; tile will eventually loosen.
- Crack follows a straight line: backer board joint or control joint issue.
- Bouncy floor: joist deflection; a structural fix, not a cosmetic one.
Why Does Mildew Keep Coming Back After a Remodel?
Mildew that returns after cleaning is a moisture problem, not a cleaning problem. The grout lines and caulk aren’t the source; they’re where the moisture shows up. To find the source, measure the room’s humidity with an inexpensive hygrometer (under $20 at any hardware store) and compare the reading to what your exhaust fan is actually moving.
Here’s the test. Run the shower for ten minutes with the door closed and the fan on. Then check the hygrometer. A properly ventilated bathroom should drop back toward ambient indoor humidity (typically 40 – 50%) within 20 to 30 minutes after the shower ends. If the reading stays above 60% for an hour or more, the fan isn’t keeping up. That persistent damp air feeds mildew in grout, caulk, and the corners where tile meets the ceiling.
Henderson’s dry climate masks this problem for part of the year. Homeowners assume the desert air will dry things out, so they ignore a slow fan. But a bathroom door closed for a morning shower traps a pocket of humid air that lingers for hours, and that’s plenty of time for mildew to establish in a porous grout joint. The climate helps, but it doesn’t replace mechanical ventilation.
Cleaning with a bleach solution kills what’s visible but leaves the conditions untouched. If the mildew returns within a few weeks of cleaning, look at the fan’s CFM rating (cubic feet per minute, the volume of air it moves) against the room’s square footage. We cover the sizing formula in the fan section below. Fixing the ventilation is what stops the cycle.
Caulk Separation at the Tub: Normal Movement or Something Worse?
Some caulk separation at the tub-to-wall joint is normal. A cast-iron or acrylic tub expands and contracts slightly with hot water, and the wall behind it doesn’t move the same way, so the flexible caulk joint takes up that difference. A hairline gap that opens and closes seasonally is thermal movement, and re-caulking with a quality silicone is the routine fix.
Structural movement looks different. Watch for these signs:
- Widening gap over weeks: the separation keeps growing rather than opening and closing.
- Cracked grout in a line above the tub: movement is transferring up into the tile field.
- Loose tile near the joint: the substrate behind the tile is shifting.
- Gap on one side only: localized movement rather than uniform thermal cycling.
- Soft or spongy wall: water has gotten behind the tile and compromised the backer.
If you see the first three together, stop re-caulking and start investigating. A tub that was set on an unlevel floor or a wall that wasn’t properly blocked can move more than the caulk joint can absorb. That’s a rough-in problem from the original installation, and it’s exactly the kind of thing a written inspection record would have caught. Keep your documentation; if the movement traces back to the install, you have grounds for a warranty conversation.
The material matters too. Painter’s caulk or a cheap siliconized acrylic will fail at a wet tub joint within a couple of years. A 100% silicone caulk rated for wet areas lasts far longer and tolerates more movement. If your remodel used the wrong product, the fix is a clean re-caulk, not a rebuild.
Why Is My New Shower Draining Slowly?
A slow drain in a new shower usually comes down to one of two causes: a hair and soap trap at the drain strainer, or a drain rough-in that was set with improper slope. The first is a five-minute fix. The second is a rough-in defect that should never have passed inspection.
Start with the easy check. Pull the drain strainer and look for a mat of hair and soap scum. In a household with long hair, that mat can build up within months even in a brand-new shower. Clear it, run the water, and see if the drain recovers. If it does, you’ve found it.
If the drain is clear and still slow, look at the slope. A properly installed shower drain relies on the subfloor or mortar bed sloping toward the drain at roughly a quarter inch per foot. When the slope is too flat, or worse, pitched the wrong way, water pools and drains sluggishly no matter how clean the strainer is. You can check this without opening anything: pour a cup of water onto the shower floor away from the drain and watch which way it travels. If it sits in a puddle or runs toward a wall, the slope is off.
Improper slope is a rough-in problem. It’s also one that a passed inspection should have caught, which is why the next section matters. In our experience across Henderson remodels, a drain that pools is one of the clearest signs an inspection was skipped or the work was done off-permit. Before you accept a slow drain as “just how it is,” pull your records and confirm the rough-in was actually signed off.
How to Pull Your Henderson Permit and Inspection Records
Your original building permit and inspection history is the single most useful document you own when a remodel problem surfaces. It tells you whether the rough-in plumbing, the waterproofing, and the drain slope were actually inspected and passed before the tile went down. A skipped or failed inspection is grounds for a warranty claim against the contractor who did the work.
Here’s how to get the records:
- Search the online permit portal. The City of Henderson maintains an online permit portal where you can look up permits by address. Enter your property address and pull the permit history for the remodel.
- Identify the inspection record. Look for the inspection log attached to the permit. It lists each inspection type (rough plumbing, waterproofing or shower pan, final) with a date and a pass or fail result.
- Request records in person if the portal is thin. Older records or incomplete digital files can be pulled at the city’s permit counter at 240 Water St. in Henderson. Bring your address and, if you have it, the permit number from your contractor’s paperwork.
- Compare the inspection dates to the construction timeline. If the tile was set before the waterproofing inspection date, that’s a red flag worth raising.
When you have the record in hand, you can have an honest conversation. If the inspection passed, the problem is more likely a workmanship or material issue, which points to the manufacturer or installer warranty. If an inspection was skipped or failed and work proceeded anyway, that’s a documented failure of the process, and your claim is much stronger. Either way, you’re working from evidence instead of assumption.
The Warranty Landscape for Bathroom Materials
Bathroom warranties are layered, and each layer has different terms and requirements. Knowing which part failed tells you which warranty to file against. Here’s how the coverage typically breaks down for the materials in a Henderson bathroom remodel.
- Tile installation labor: typically one year from the installer. Covers workmanship like adhesion, grout, and layout. Keep your contract; the clock starts at completion.
- Schluter waterproofing systems: lifetime warranty on the membrane itself, but only when installed by a licensed installer with documentation. Without installer records, the membrane warranty can be denied.
- Delta and Moen fixtures: limited lifetime warranty on residential fixtures, and registration is usually required. Register the fixture at purchase or shortly after; an unregistered product can complicate a claim.
- Cabinets and vanities: finish and hardware warranties vary by brand. Products from lines like KraftMaid and Wellborn carry their own terms, so check the specific model paperwork.
The pattern is consistent: documentation wins claims. A homeowner with the installer’s name, the product registration, and the inspection record can usually get a resolution. A homeowner with none of that gets a phone runaround. If you’re planning a new bathroom and want the paperwork to be right from the start, see how our Rowan Construction Group Henderson home page lays out the written-price and documented-record process, and read our Home Additions & ADU in Henderson guide if your bathroom project is part of a larger addition where permits and sequencing matter even more.
A Moisture Investigation You Can Do Without Opening Walls
You don’t need to demo anything to find out whether water is getting behind your tile. A few tools and a methodical pass will tell you most of what a contractor would check on a first visit.
- Measure the grout joint width. Standard grout joints run about 1/16 to 1/8 inch for rectified tile, wider for some natural stone. Joints that have visibly widened or narrowed from the original line suggest movement in the substrate.
- Look for efflorescence. White, powdery mineral deposits on grout or tile are efflorescence, and they indicate water migrating through the assembly and evaporating at the surface, leaving salts behind. Efflorescence is a strong sign of a moisture path behind the tile.
- Use a non-invasive moisture meter. A pinless moisture meter (under $50) reads moisture through drywall and backer without poking holes. Scan the drywall adjacent to the shower and the ceiling below the bathroom. Readings that climb well above the surrounding wall indicate trapped moisture.
- Check the ceiling below. If your bathroom sits over another room, look for staining or a musty smell on that ceiling. Water travels down, and the first sign often appears below.
- Compare readings over a week. Take a baseline, then recheck after several showers. Moisture that spikes after use and stays elevated points to a waterproofing failure rather than a one-time spill.
Write down what you find: joint widths, where the efflorescence appears, the meter readings and dates. That record is the same kind of evidence a contractor documents, and it makes any warranty or repair conversation concrete. A remodel done with a documented photo record on every visit already has this evidence built in, which is one reason we treat the photo record as standard rather than an upgrade.
The Henderson Exhaust Fan Problem: Why Your Bath Fan Is Too Small
A bath fan sized for a 50-square-foot bathroom is routinely installed in an 80- to 120-square-foot master bath. That’s the most common ventilation failure we find in Henderson new construction: a builder-grade fan matched to a small hall bath gets dropped into a much larger master suite, and it never moves enough air. The result is chronic humidity, mildew in the grout, and peeling paint on the ceiling.
The fix starts with the math. Size the fan to the room:
Bathroom square footage × 1.1 = minimum CFM
A 100-square-foot master bath needs at least 110 CFM. A 120-square-foot bath needs 132 CFM. Many builder-grade fans in these rooms are rated at 50 to 80 CFM, which is why they can’t keep up. For bathrooms with a tub and shower in the same room, add a bit of margin and aim higher.
Replacement options are widely available and straightforward to source. The Panasonic WhisperCeiling line is a common choice for quiet, well-rated performance, and the Broan QTXE series offers solid CFM ratings with humidity-sensing models. Both are stocked at local supply houses around Henderson, so replacement doesn’t require a special order. If you’re already reworking a bathroom, pairing a properly sized fan with a moisture-sensing switch solves the “forgot to turn it on” problem too. While you’re at it, confirm the ductwork actually vents outside rather than into the attic; a fan that dumps humid air into the attic just relocates the mildew.
Common Mistakes to Avoid
- Regrouting over cracked grout without finding the cause. The crack returns because the movement underneath was never addressed. Diagnose deflection first.
- Assuming the desert climate will dry things out. Henderson’s dry air helps, but a closed bathroom with a slow fan still traps humid air for hours, which is enough for mildew to take hold.
- Re-caulking a structural gap with more caulk. If the gap is widening, the movement is in the wall or tub setting. Caulk hides it for a while and fails again.
- Ignoring a slow drain until it backs up. A pooling drain is a rough-in slope problem, and catching it early keeps the fix smaller.
- Throwing away the permit and inspection paperwork. That record is the difference between a warranty claim that works and one that stalls.
- Buying the cheapest bath fan on the shelf. Undersized CFM is the root of most Henderson mildew complaints; size it to the room.
- Choosing materials by look alone. Verify the fixture and waterproofing warranties and register the products so a future claim is straightforward, whether that’s a Kohler or Toto fixture or a membrane system.
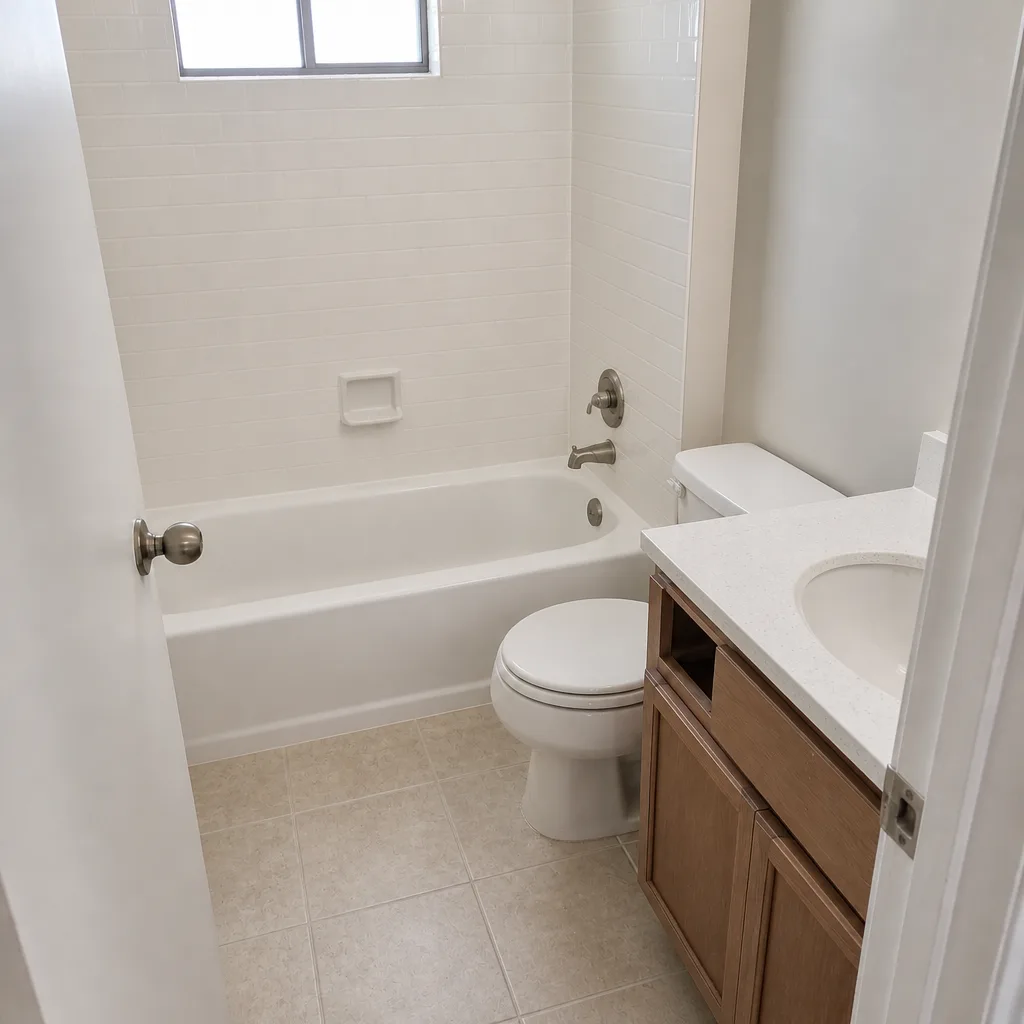
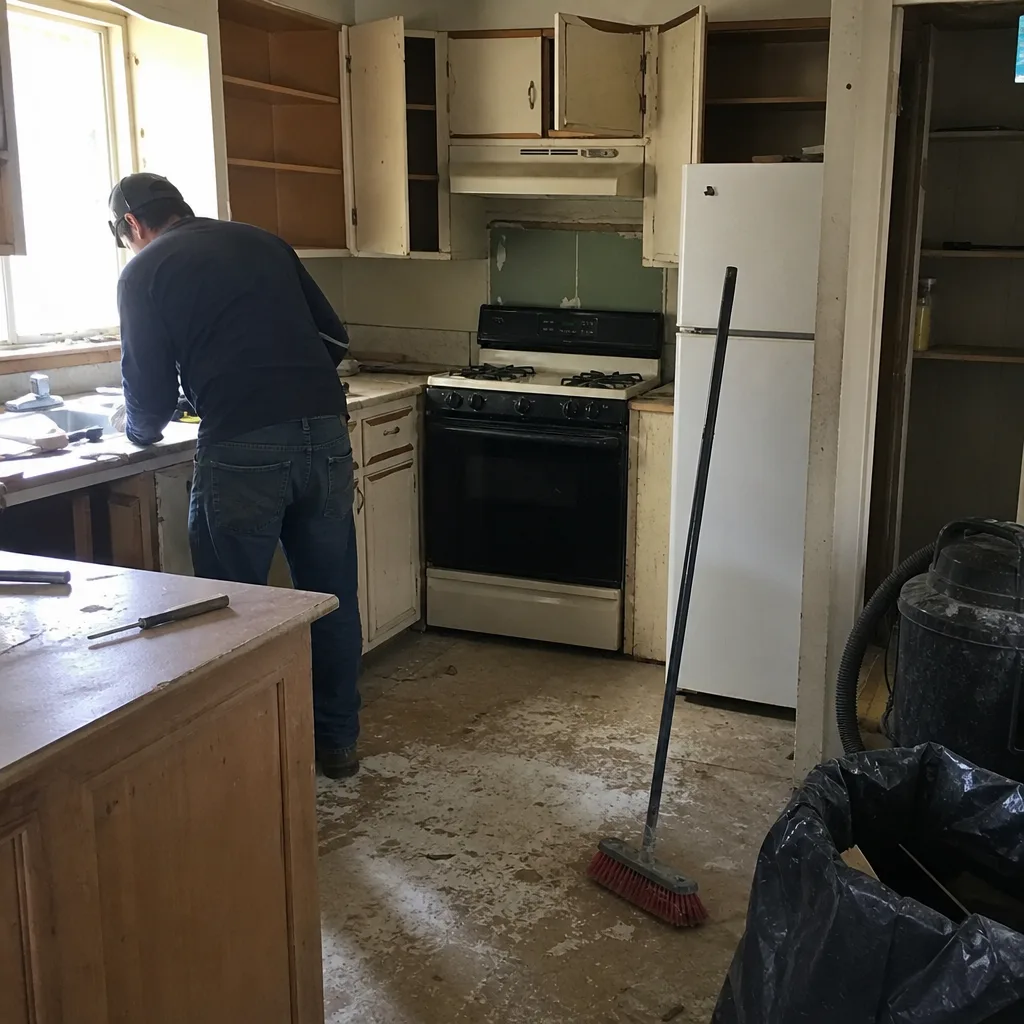
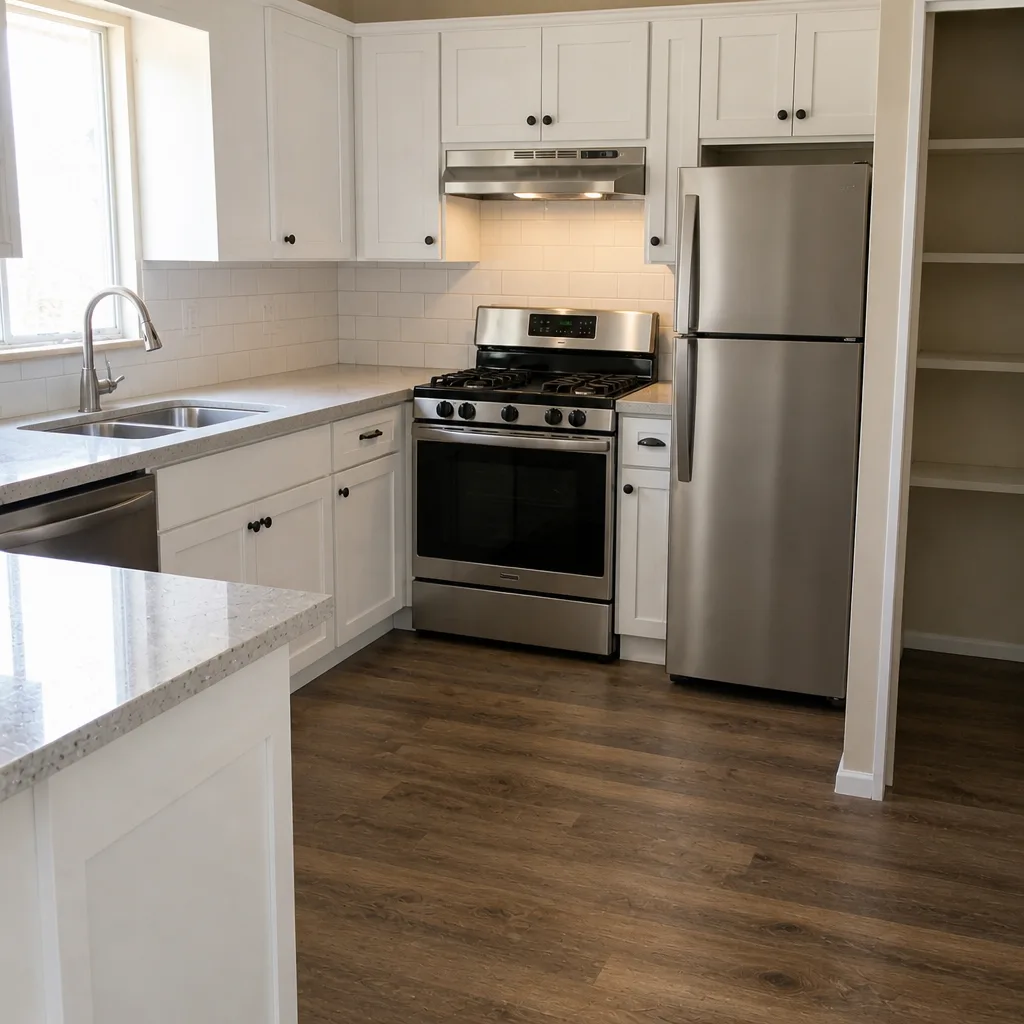
See the difference
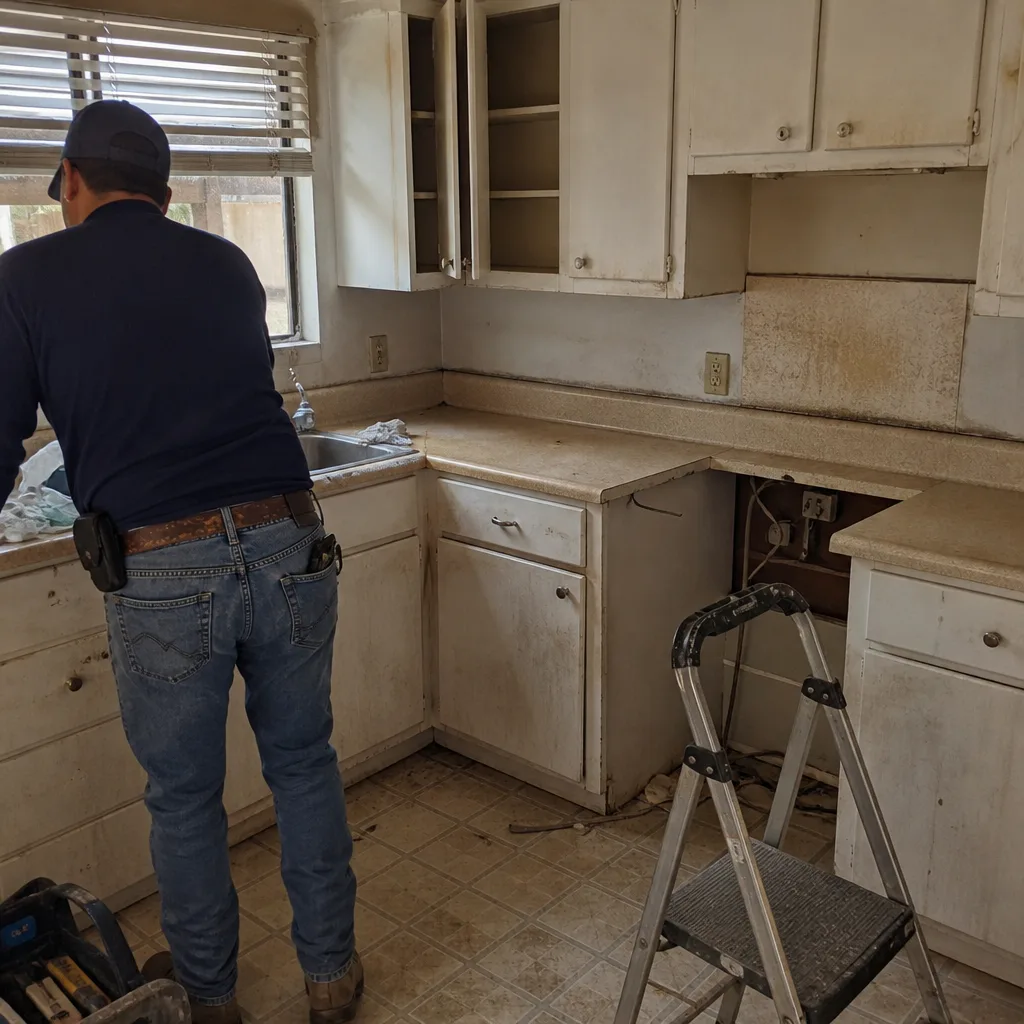 Before
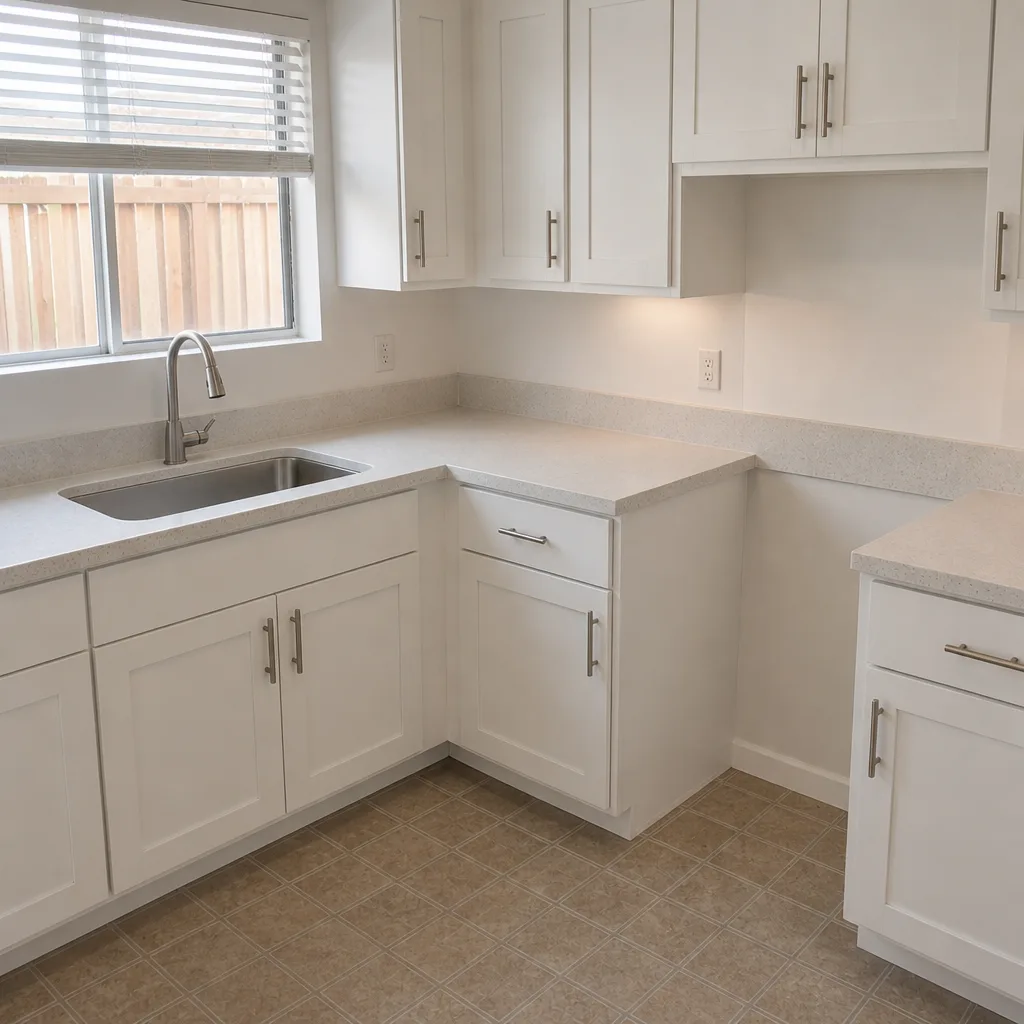 After
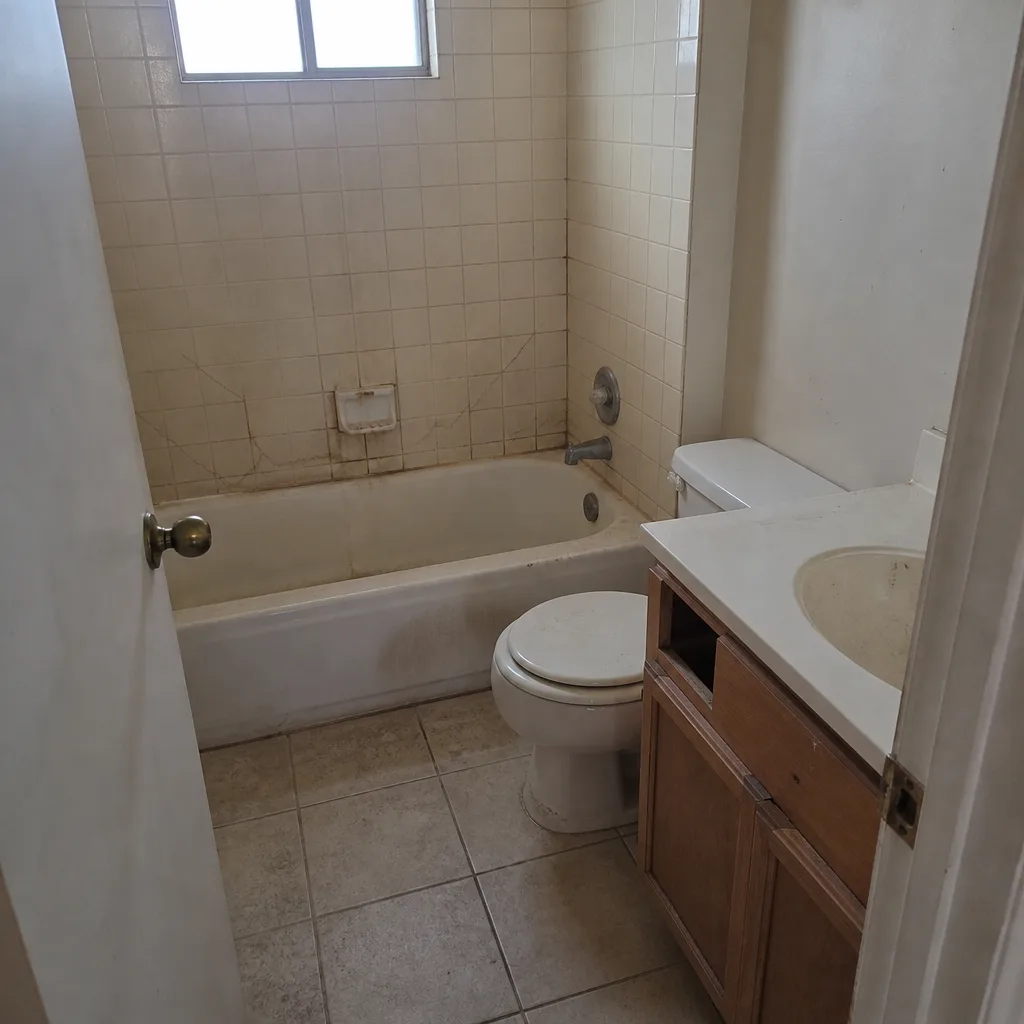 Before
 After
 Before
 After
When to Call a Professional
Call a professional when the moisture meter reads high behind the wall, when water pools on the shower floor instead of draining, when a structural gap keeps widening, or when the inspection record shows a skipped or failed waterproofing inspection. Those are the cases where a cosmetic patch wastes money and a proper repair sequence is needed to protect the framing. If you’re weighing a repair against a fresh remodel, a free second opinion on a written estimate will help you decide with a real number instead of a guess. Rowan Construction Group Henderson offers free estimates in Henderson, every one backed by a written price before any work starts, a signed change order for anything that shifts, and our 365-Day Done Right Promise. Call (833) 954-5920 to schedule yours.
Frequently Asked Questions
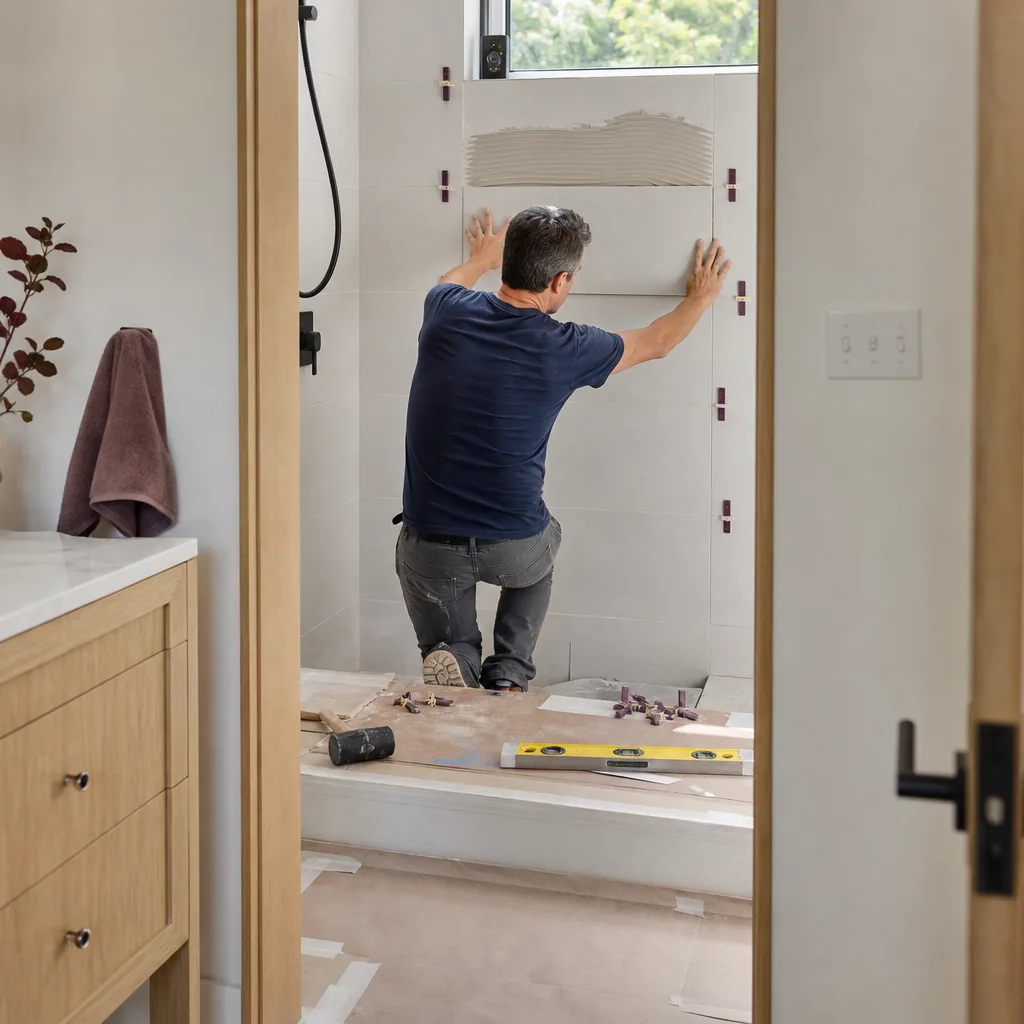
A regrout typically runs a few hundred dollars, while a repair that involves re-setting loose tile or correcting substrate deflection runs into the low thousands because it means removing tile and restoring the backer. The price depends entirely on whether the cause is cosmetic or structural. Call (833) 954-5920 for an exact quote, and the estimate is free.
No. We deliver a flat written price with a written scope before any work begins, and no change proceeds until a change order is signed. That discipline is why our projects finish within a few percent of the number a customer agreed to, and it applies to repairs as much as to full remodels.
Yes. Permit-driven work like plumbing rough-in, waterproofing, and electrical is pulled and inspected, which is what gives you a defensible inspection record if a problem surfaces later. The permit and inspection history is part of what we hand over, and it’s exactly the paperwork you’ll want if you ever need to file a warranty claim.
A regrout or fan replacement is often a single-day job, while a tile tear-out and re-set on cement board can run several days to a week depending on the size of the shower. The scope in the written quote sets the timeline, so there’s no guessing once work starts. Call (833) 954-5920 and we’ll give you a realistic timeline with the price.
Often yes, if the ductwork can handle the higher CFM and it vents outside. Size the replacement to your room’s square footage times 1.1, so a 100-square-foot bath needs at least 110 CFM. Brands like Panasonic and Broan offer appropriately sized models stocked locally around Henderson. Call (833) 954-5920 for a quote.
Bring the competitor’s written estimate, your original permit and inspection records if you have them, and any photos of the problem. We’ll review the estimate line by line at no charge, so you can see what’s covered, what’s missing, and whether the price is fair. It’s one of our standing offers, and there’s no pressure to move forward.
The Bottom Line
Almost every bathroom remodel problem that appears after the contractor leaves traces back to waterproofing that nobody sees again or ventilation that nobody sized correctly. The good news is that both are diagnosable without opening a wall. The tap test, a hygrometer, a moisture meter, and your original permit and inspection records will tell you which system failed and where your claim stands. If you’re in Henderson and want an honest read on a repair, a written price in hand, and a documented record of what gets found, Rowan Construction Group Henderson is here to help. Call (833) 954-5920 for a free estimate.
Written by the team at Rowan Construction Group Henderson.