Last updated November 18, 2026







Free written scope consultation - allowances, timeline, and change-order rules on paper before a single trade is scheduled
Bathroom Remodeling Maintenance Schedule: What to Do and When
Most grout sealant failures that void tile warranties happen within the first year after a remodel. Not because the product failed. Because the resealing window – often 6 to 12 months post-install – passed without anyone noticing. We’ve walked into Henderson bathrooms less than two years old where the shower pan grout had already gone chalky and started wicking water into the substrate, and the homeowner had no idea the warranty required documented resealing. This guide gives you a dated calendar: what to check at 30 days, 60 days, 90 days, and every year after, tied to the warranty language that actually governs your coverage.
Quick Answer
A bathroom remodel needs four checkpoints in the first 90 days (caulk cure, grout sealing, exhaust fan filter, silicone joints), then annual maintenance focused on grout resealing every 1 to 3 years per your material warranty, hard-water descaling of fixtures and aerators, and seam inspection on quartz or cultured marble. Most annual tasks take under an hour and cost $20 to $40 in supplies; a few require a licensed plumber or tile setter.
Styles & brands we work with
- Kitchen remodeling
- Bathroom remodeling
- Home additions & ADU
- Roofing
- Windows & doors
- Driveway & pavers
- Fence
Table of Contents
- The First 30 Days: Cure Windows and What Not to Touch
- Days 60 to 90: Caulk Inspection, Grout Sealing, Exhaust Fan
- Henderson’s Hard Water: Descaling Your Moen and Delta Fixtures
- How to Read a Material Warranty to Know What Maintenance Voids It
- The Annual Schedule: Months 12, 24, 36
- Building a Written Maintenance Log (Template Included)
- DIY vs. Licensed Pro: Which Tasks Require a Tradesperson
The First 30 Days: Cure Windows and What Not to Touch
The most common mistake in the first month is overcleaning. Freshly installed silicone caulk needs 24 to 48 hours to skin over and about 7 days to fully cure at Henderson’s typical indoor humidity. Grout needs 72 hours before water exposure and longer before any cleaner touches it. A homeowner scrubbing a brand-new shower surround with a bleach spray on day three can pit the grout and break the sealer’s bond before it’s set.
Here’s the 30-day list we hand every Henderson client at project close:
- Days 1 to 3: No water on new grout or caulk. Wipe down fixtures only with a damp cloth.
- Day 7: Run the shower for 5 minutes and check under the shower pan and around the door frame for moisture. Let it dry fully before the next use.
- Day 14: Look at every caulk line – around the tub, sink, backsplash. Hairline cracks at flex points are normal if they appear; larger separation is a callback issue, not a homeowner fix.
- Day 21: Empty and wipe down the exhaust fan grille. Dust buildup in the first three weeks is common after construction.
- Day 30: Check the toilet base for rocking. A loose toilet on a new tile floor can crack a flange, which is a plumber’s problem, not a caulk fix.
One thing we tell every Henderson homeowner: don’t touch the silicone joints with anything but a damp cloth for the first 14 days. Solvents, vinegar, and citrus cleaners all attack uncured silicone. If a joint looks off, call us under the 365-Day Done Right Promise – we’d rather see it at day 10 than at year two.
Days 60 to 90: Caulk Inspection, Grout Sealing, Exhaust Fan
By day 60, everything installed should be fully cured. This is when the real inspection begins. Under Clause 1 of the Haven Standard, the price was written before anyone started, and this inspection is part of what you paid for – the maintenance phase, not just the install.
Step 1: Caulk Cure Inspection (Day 60)
Run your finger along every caulk bead. It should feel firm and slightly rubbery, not tacky or gummy. Tacky means it hasn’t cured, which usually signals moisture was trapped behind it at install. That’s a callback.
Step 2: Grout Sealing (Day 75 to 90)
New grout should be sealed 60 to 90 days after install, once it’s fully cured and any efflorescence has worked its way out. For cementitious grout in a shower, use an impregnating sealer – we typically recommend a solvent-based penetrating sealer applied with a small foam brush, two coats, 24 hours apart. For touch-ups on Mapei Ultracolor Plus FA (a common fast-setting grout in our Henderson installs), never apply sealer over a fresh patch – wait the full cure window on the tube.
Step 3: Exhaust Fan Filter and Duct (Day 90)
Clear the grille and reach up into the duct housing with a vacuum hose. In Henderson, dust load is higher than in coastal cities, and a partially blocked fan runs hotter and moves less air. A fan that’s not pulling steam out is the biggest driver of grout failure and mold growth we see on callbacks.
Step 4: Silicone Joint Re-Examination (Day 90)
Re-check the shower pan perimeter, door frame, and tub-to-floor joint. If the silicone has pulled away anywhere, recaulk with 100% silicone (not caulk labeled “siliconized”). Siliconized acrylic will fail again in 12 to 18 months at a wet joint.
Henderson’s Hard Water: Descaling Your Moen and Delta Fixtures
Henderson water runs hard – typically 12 to 18 grains per gallon from the Colorado River system – and that hardness deposits calcium on every fixture surface and inside every aerator screen. Over 12 months, an aerator can lose 40% of its flow to mineral buildup. Less obvious but more damaging is what scale does inside a Moen or Delta shower cartridge: it abrades the rubber seals and shortens cartridge life from 10 years to 5 or 6.
Quarterly, do this:
- Unscrew the aerator on each sink faucet (hand-tight; if it’s stuck, wrap the collar in a rag and use pliers). Soak in a 50/50 white vinegar and water solution for 30 minutes.
- Wipe the showerhead face with a vinegar-soaked cloth, or soak the head in a shallow bowl if removable.
- Check the toilet fill valve for mineral crust – a sticky fill valve is usually a hard-water symptom, not a valve defect.
- Look at any quartz or cultured marble seams (countertop-to-backsplash, vanity top-to-wall) for white crust. That’s mineral infiltration under the caulk, and left alone it will lift the bond.
A whole-home water softener will cut this maintenance burden in half, but it’s not a substitute for the quarterly descale. Softened water still leaves soap scum and body oils on tile.
How to Read a Material Warranty to Know What Maintenance Voids It
Warranties are not marketing documents – they’re contracts, and the maintenance terms are usually on page two, in the paragraph nobody reads. Tile and grout manufacturers typically require one of two things: documented professional resealing at a specified interval, or proof of homeowner resealing at the stated frequency. Missing either voids coverage for grout cracking, efflorescence, and moisture damage.
Here’s what to look for in your warranty packet:
- Maintenance schedule language: Search for “sealing,” “maintenance,” and “interval.” Most specify resealing every 1 to 3 years. If the document doesn’t say, call the manufacturer’s warranty line and ask them to send the interval in writing.
- Product names: Warranties name approved cleaners and sealers. Using a chlorine bleach on grout where the warranty specifies a pH-neutral cleaner gives them a defense against your claim.
- Exclusions: Hard water damage, improper cleaning, and “normal wear” are almost always excluded. Read the exclusion list first – it tells you what your maintenance needs to prevent.
- Claim procedure: Most warranties require written notice within a set number of days from discovery. Photograph the failure the day you find it.
When Rowan installs a bathroom in Henderson, we leave the manufacturer warranty documents with the customer in a folder, and the photo record from the visit goes in the same folder. That record matters at claim time: it’s date-stamped proof the install was done to spec.
The Annual Schedule: Months 12, 24, 36
After the 90-day ramp, maintenance shifts to an annual rhythm with one reseal interval. Here’s the fixed calendar:
Month 12: The Full Inspection
- Reseal all cementitious grout in wet areas (shower walls, shower floor, tub surround).
- Inspect every silicone joint and recaulk any that show separation.
- Descale all aerators and the showerhead.
- Pull the exhaust fan cover, vacuum the blower wheel.
- Photograph all wet-area grout lines and joints, save to your maintenance log.
Month 24: Mid-Cycle Checks
Re-inspect the shower pan membrane area for any softness in the floor (tile flexing underfoot is the warning sign – call a tile setter if you feel it). Check the toilet for rocking again, and replace the wax ring if it moves. Confirm the exhaust fan’s airflow is still strong with a tissue test: hold a single tissue against the grille; it should hold flat.
Month 36: Second Full Reseal
Second reseal cycle per the material warranty. If your warranty specifies every 2 years rather than 3, adjust – this is why you read the warranty in year one, not year three.
If you’re planning a home addition or ADU that will share a bathroom wall, coordinate the new bathroom’s maintenance log with the existing one so you’re resealing both wet areas on the same weekend. We cover that in our Home Additions & ADU in Henderson guide.
Building a Written Maintenance Log (Template Included)
If a warranty claim ever happens, the manufacturer’s first question is “when was it last resealed?” A four-line log entry with a photo answers that question. Without it, you’re arguing against a denial letter.
Keep a simple written log with these fields:
- Date: Day, month, year.
- Task: What you did – “Resealed shower grout with penetrating sealer, 2 coats.”
- Product: Brand and product name (e.g., “Mapei Ultracolor Plus FA touch-up,” “Moen 1225 cartridge replacement,” “Delta RP73622 aerator”).
- Photo: One phone photo of the area after the task.
- Notes: Anything that felt off – slight hairline crack at the tub seam, fan running louder.
Store the log with the remodel paperwork. Digital is fine – a folder on your phone, shared with anyone else in the household who touches the bathroom. Print a copy of your full log each year; warranties sometimes ask for the paper version. Order the log chronologically; don’t reorganize it after the fact.
DIY vs. Licensed Pro: Which Tasks Require a Tradesperson
Most annual maintenance is homeowner territory with $30 in supplies: vinegar, a penetrating grout sealer, a tube of 100% silicone, a caulk smoothing tool, a soft brush. Some tasks aren’t.
Safe for a careful homeowner:
- Descaling aerators and showerheads.
- Vacuuming the exhaust fan grille.
- Resealing grout with a penetrating sealer (not a topical film-forming sealer – those trap moisture and are the wrong product for a shower floor).
- Replacing the toilet flapper and fill valve (a $15 kit, 20 minutes).
- Recaulking the tub-to-wall joint with 100% silicone.
Requires a licensed plumber or tile setter:
- Replacing a shower cartridge or valve body (Moen 1225, Delta RP19804). Water shutoff failure during a cartridge swap floods a bathroom.
- Replacing a shower pan membrane. The membrane sits under the tile and the failure mode is water into the floor framing.
- Any toilet removal and reinstall – the flange and wax ring set are not forgiving of a bad reinstall.
- Cutting out and replacing failed grout in a shower floor. Wrong materials here cause bigger failures six months later.
- Any repair where a wall has to open to access plumbing.
If you’re not sure which category a task falls into, call us. We’d rather answer a 5-minute question than show up for a water-damage repair in year two. Our Rowan Construction Group Henderson home page lists every trade we run and how the written-price discipline works on each one.
Common Mistakes to Avoid
- Using bleach on new grout. In Henderson’s dry air, bleach evaporates and leaves a concentrated residue that pits the grout surface. It also voids most grout warranties.
- Skipping the 90-day reseal because the grout “still looks fine.” Grout absorbs water long before it visibly discolors. By the time you see a stain, the moisture has been working for months.
- Caulking over wet joints. If you recaulk a shower seam without letting it dry 48 hours first, you trap water behind the new bead. It fails in weeks.
- Ignoring a running exhaust fan’s noise. A fan that’s gotten louder usually means a failing bearing or a dust-loaded wheel. Left alone, the bathroom stays humid and the tile grout pays the price.
- Resealing grout with a topical film-forming sealer on a shower floor. Water gets behind the film, can’t escape, and molds. Penetrating sealer only on wet areas.
- Keeping the maintenance log in your head. A warranty claim in year three needs dates and photos, not memory.
- Not photographing the failure the day you notice it. Manufacturers require notice within a set window; photos with timestamps preserve your claim.
See the difference
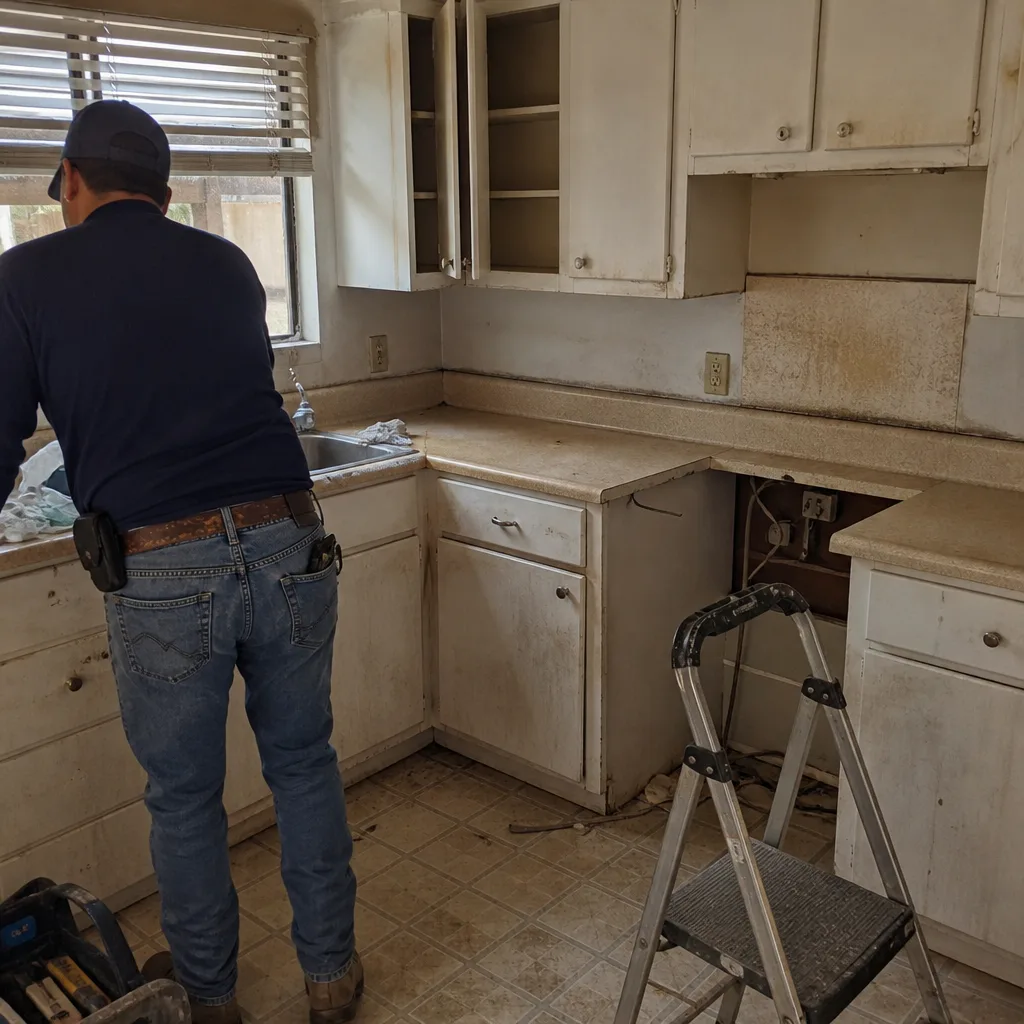 Before
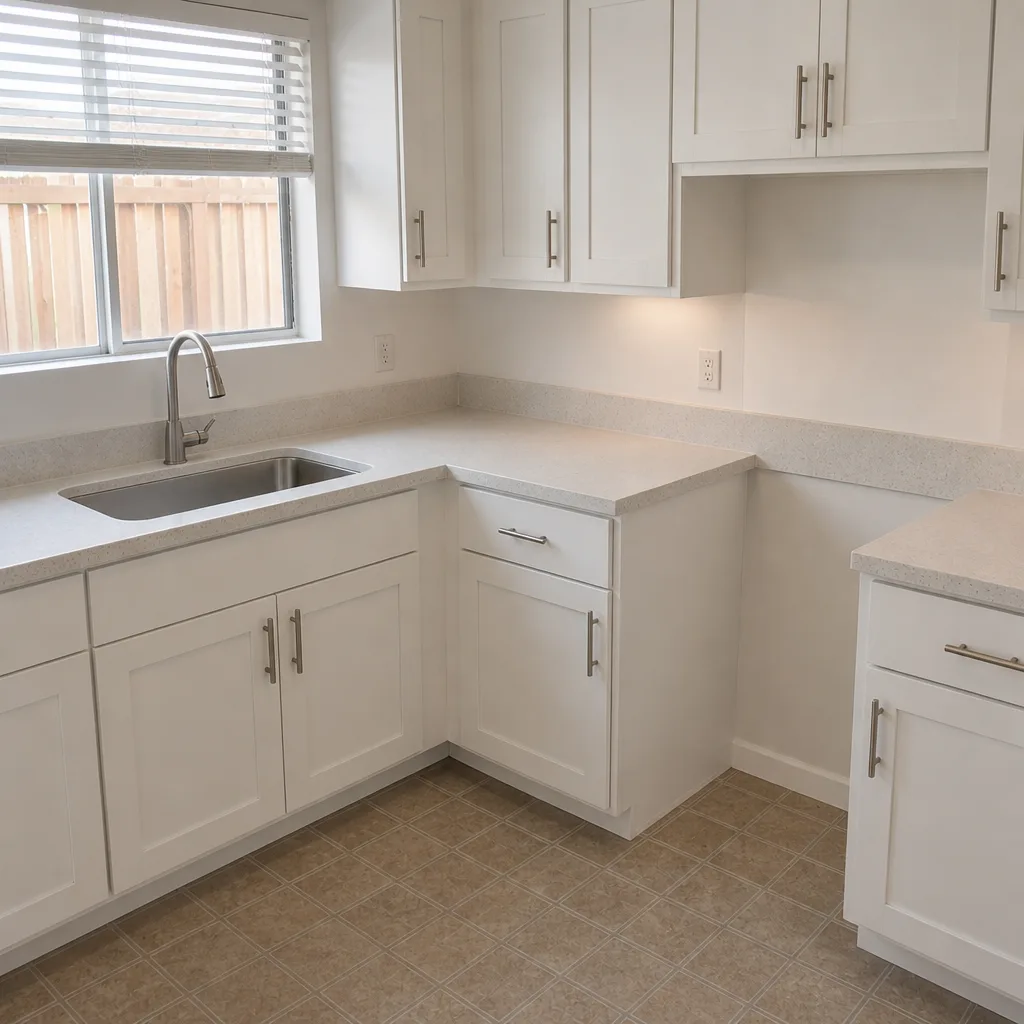 After
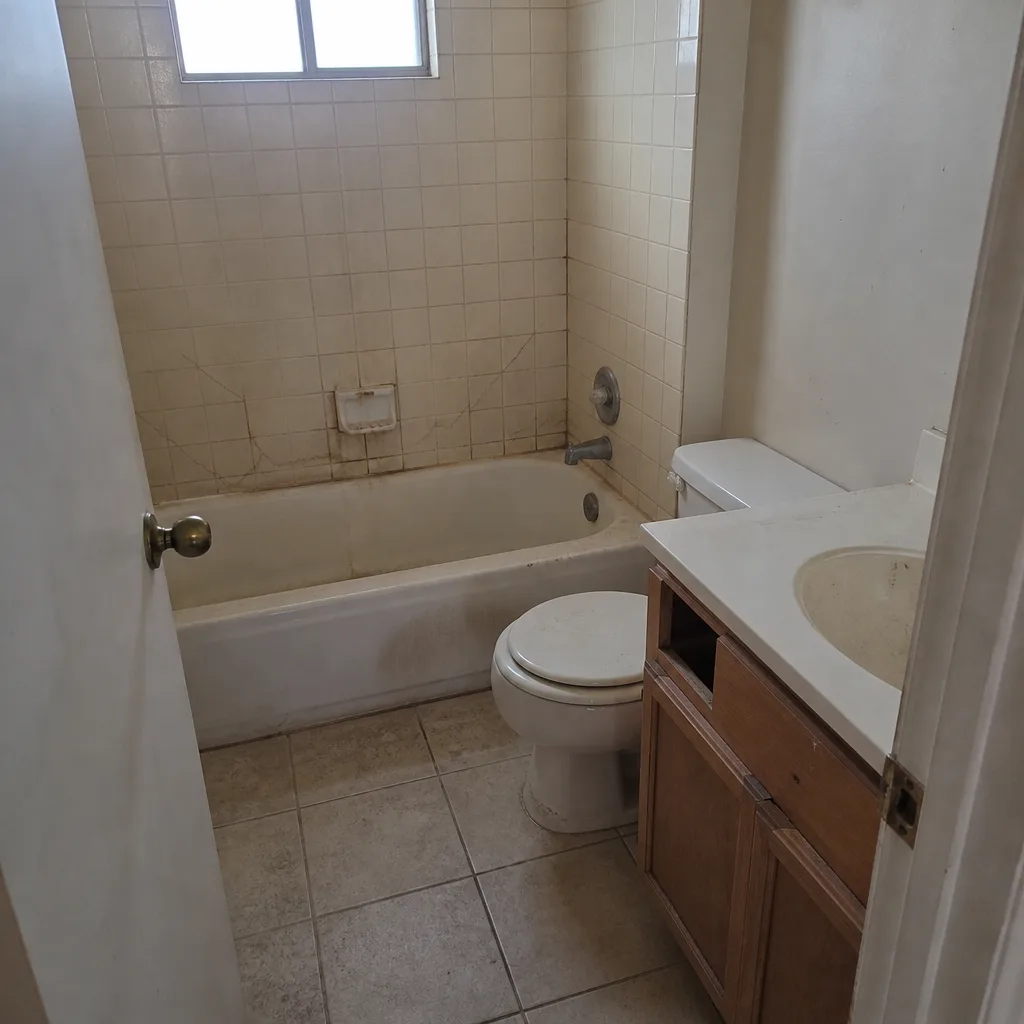 Before
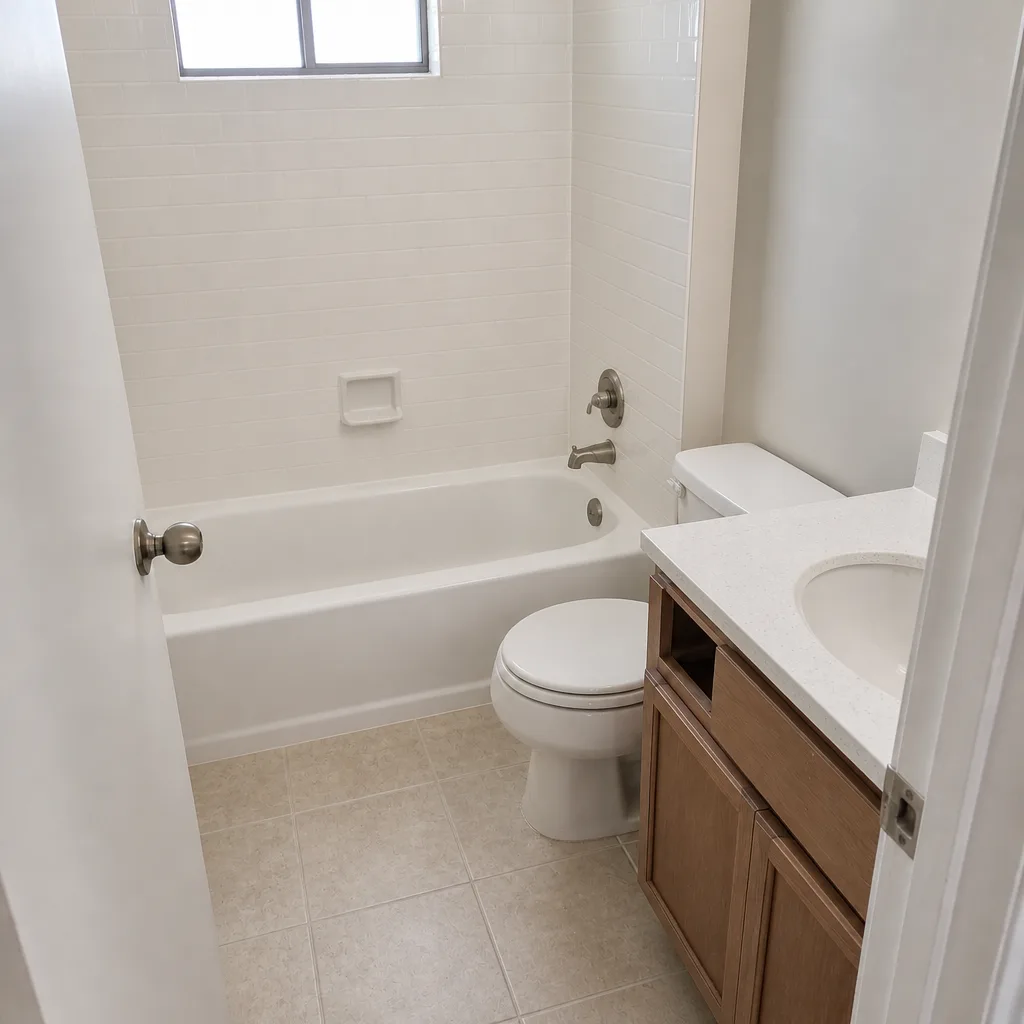 After
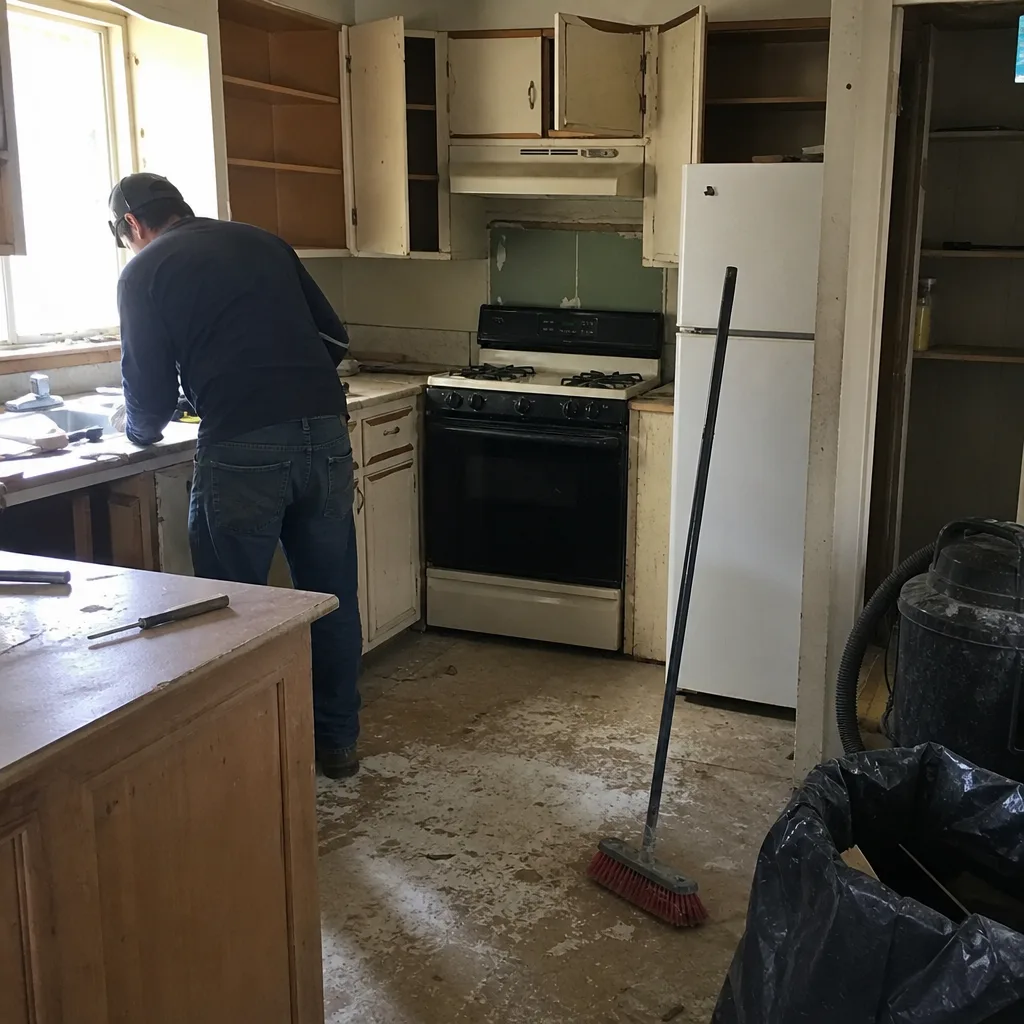 Before
 After
When to Call a Professional
Call a pro when the problem is behind the surface. Visible grout discoloration that won’t clear with a neutral cleaner usually means the membrane or substrate is wet – that’s a tile setter’s job, not a sealer fix. Any flexing or hollow-sounding tile underfoot in a shower floor is a structural warning. A toilet that rocks, a shower valve that drips after you’ve replaced the cartridge, or a fan that stops moving air all warrant a licensed plumber or tradesperson. And if your warranty packet is unclear about maintenance intervals, get the answer in writing before you skip a reseal. Rowan Construction Group Henderson offers free estimates in Henderson – call (833) 954-5920 to schedule a maintenance review or get a second opinion on any written estimate from another contractor.
Frequently Asked Questions
Reseal cementitious grout every 1 to 3 years, with the exact interval set by your material warranty. In our experience, most Henderson bathrooms with a working exhaust fan do fine on a 2-year cycle, while shower floors and any bathroom without good ventilation need resealing every 12 months. Check the warranty packet in year one, write the interval on the folder, and set a phone reminder.
Check the caulk and silicone joints at day 14, then reseal grout at day 60 to 90. The caulk inspection catches cure failures while they’re still a callback; the grout reseal locks in the warranty window. Both are quick, and both are the tasks most Henderson homeowners skip.
No – aerators and showerheads are homeowner tasks with vinegar and a cloth. A plumber is needed only when the cartridge or valve body needs replacement, since that involves shutting off water to the bathroom and dealing with any seized connections. Call (833) 954-5920 if you’re not sure which situation you have.
Hard-water damage is excluded from nearly every tile, grout, and fixture warranty unless the warranty names scale damage as covered. That means the quarterly descale isn’t optional from a coverage standpoint – it’s the task that prevents an exclusion from being applied. Henderson water runs hard enough that skipping it is the single fastest way to lose a claim.
Budget $60 to $120 per year for supplies (sealer, silicone, aerator screens, cleaner) and $150 to $300 every two years for a professional maintenance visit if you’d rather not do the reseal yourself. That’s a fraction of the $1,800 to $4,000 we typically see for a shower pan repair after a skipped reseal.
Yes. Every bathroom remodel Rowan completes closes with a written maintenance schedule keyed to the specific materials we installed, plus the manufacturer warranty documents and the date-stamped photo record from the project. Under the 365-Day Done Right Promise, anything that fails due to install gets fixed by us. Call (833) 954-5920 to get a written price on a bathroom remodelling project before any work starts.
The Bottom Line
The first 90 days after a bathroom remodel decide whether the next 10 years are maintenance or repairs. Reseal grout at day 60 to 90. Watch the caulk and silicone joints. Clear the exhaust fan. Descale quarterly because Henderson water will do it anyway. Log every task with a date and a photo. Read the warranty in year one so you know what “documented resealing” means for your materials. And when the task touches plumbing, a shower membrane, or the tile substrate, call a licensed professional rather than the hardware store. If you’re planning a remodel and want a written price before anything starts, take a look at our Driveway & Pavers in Henderson and Fence Installation in Henderson service pages to see how the same written-price discipline applies across trades.
Ready to start a bathroom remodel with a documented maintenance plan? Call Rowan Construction Group Henderson at (833) 954-5920 for a free estimate. We’ll bring a written price, a written scope, and the maintenance calendar that goes with it.
Written by the team at Rowan Construction Group Henderson.