Last updated November 18, 2026




Free written scope consultation - allowances, timeline, and change-order rules on paper before a single trade is scheduled
Windows & Doors Maintenance Schedule: What to Do and When
Silicone caulk on exterior window frames that’s left unchecked through one Henderson summer can shrink, crack, and let water into the wall cavity during monsoon season. The same seal, inspected in April, is an $8 tube of caulk and an afternoon. Found in September, it’s a drywall repair running $400 to $2,000. That gap between cheap and expensive is what a maintenance schedule really buys you, and in Henderson the calendar that controls it runs opposite to what the national guides print. This is the Henderson-specific version: month by month, which lubricant on which hardware, what UV damage looks like before it leaks, and how to log it all so your window warranty still stands.
Quick Answer
In Henderson, schedule the heavy window and door maintenance pass in March and April – not fall. The Mojave summer bakes exterior seals, glazing compound, and weatherstripping at 110°F and higher, and monsoon rain arrives in July and August to test whatever survived. A fall-only schedule skips the damage window entirely. Do a light post-monsoon check in September and a weatherstrip and threshold assessment in November, and you’ll catch nearly every failure while it’s still a $10 fix.
Styles & brands we work with
- Kitchen remodeling
- Bathroom remodeling
- Home additions & ADU
- Roofing
- Windows & doors
- Driveway & pavers
- Fence
Table of Contents
- Why Henderson’s Maintenance Calendar Runs Backward
- The Month-by-Month Henderson Calendar
- Which Lubricant Goes on Which Hardware
- Reading Caulk and Glazing Compound for UV Damage
- The Maintenance Log Your Window Warranty Expects
- DIY vs. a Contractor’s Preventive Visit: The Honest Cost
- Doors Need Their Own Line in the Schedule
- Common Mistakes to Avoid
Why Henderson’s Maintenance Calendar Runs Backward
Most published window and door schedules were written for climates with a freeze-thaw winter. They put the big inspection in fall, closing up the house before cold arrives. Henderson doesn’t have that problem. We have the opposite one: a long, dry, high-UV oven from May through September, then a short violent wet season in July and August, then a mild winter that asks almost nothing of your seals. The climate itself sets the priority. Rowan Construction Group Henderson home jobs tell the same story every year – the water damage calls come in August and September, and nearly all of them trace back to a seal that was already failing in April.
The damage timeline in Henderson looks like this:
- March – April: temperatures are still in the 70s and 80s, caulk is still pliable, and you can work on a ladder without heat exhaustion. This is the only comfortable window to inspect and repair exterior seals before summer.
- May – June: UV intensity climbs hard. Silicone and acrylic caulk begin to dry, shrink, and pull away from stucco and frame junctions. Window hardware that ran smoothly in March starts to drag.
- July – August: monsoon season. Wind-driven rain hits every gap the spring inspection missed. This is when the $400 drywall bill gets written.
- September: post-monsoon is the truth-telling inspection. Anything that leaked, leaked already. Find it now, before November rains and before the damage spreads.
- November: weatherstripping and door sweeps get assessed before the mild winter, when drafts are most noticeable and gaps are easiest to feel.
That’s the whole inversion. If a generic maintenance chart tells you to do your “fall weatherization,” it’s telling you to do the wrong work at the wrong time for a house in Henderson. Spring is the working season for seals. Fall is for draft-checking and hardware.
The Month-by-Month Henderson Calendar
Here’s the schedule we’d hand a homeowner in Green Valley or Anthem, and the one we follow ourselves. It assumes a typical Henderson house with vinyl and wood-frame windows and at least one sliding glass door.
- March – Exterior seal walk. Walk the whole exterior with a tube of caulk and a putty knife. Probe every caulk joint at the frame-to-stucco junction with a fingernail. If the caulk is hard, cracked, or lifts away from either surface, cut it out and recaulk. Check glazing compound on wood windows for cracks and missing chunks.
- April – Second seal pass and screens. Recheck anything you repaired in March. Clean window screens and repair torn mesh – a torn screen lets in fine desert dust that grinds into tracks. This is the last comfortable month to be up a ladder outdoors.
- May – Hardware lubrication. Lubricate sliding door rollers, window locks, hinges, and track mechanisms. Dry, dusty hardware is the leading cause of a window that suddenly won’t slide. Use the right product for the material – details below.
- June – Track cleaning. Blow or vacuum out window and door tracks. Fine dust accumulates all spring and, once summer heat bakes it onto lubricated surfaces, it turns into grinding paste. Clean first, then re-lubricate lightly.
- July – August – Watch, don’t work. Too hot for exterior work. After any significant monsoon storm, do a quick interior check: run a hand along the inside of window frames and the sill, feeling for moisture or a draft. Note anything suspicious for September.
- September – Post-monsoon inspection. The most important check of the year. Repeat the exterior seal walk from March, looking specifically for water staining, bubbling paint, or soft drywall under sills. Any soft spot is a leak that already happened – open it up before it spreads.
- October – Weatherstrip and threshold audit. Test every door’s weatherstripping by closing it on a dollar bill and pulling; if the bill slides out easily, the seal is worn. Check door sweeps and thresholds for gaps.
- November – Weatherstrip replacement and draft check. Replace worn weatherstripping and door sweeps. Feel for drafts around frames on a cool morning. This is your pre-winter pass.
- December – February – Light check. A quiet season. Check locks and latches still engage cleanly after the heat and monsoon cycle, and confirm no new cracks appeared.
Notice how much of this is inspection, not repair. Most years, a Henderson house needs two small caulk touch-ups and a squirt of lubricant, and that’s it. The schedule’s value is in catching the one year it’s more.
Which Lubricant Goes on Which Hardware
Here’s where most homeowners, and a fair number of handymen, get it wrong. The wrong lubricant in Henderson is worse than no lubricant, because dust and the wrong product together make a sticky grinding paste that ruins tracks faster than dry friction. The single rule: use dry or thin lubricants, never greasy ones. In a desert, anything thick and tacky is a dust magnet.
- Vinyl window tracks and sliding door tracks: silicone spray. It dries to a thin film, doesn’t collect dust, and lets rollers and glides move freely. Spray, let it sit a minute, wipe off the excess. Never use petroleum jelly or heavy grease here.
- Wood window channels: paste wax. A thin coat of paste wax (the same stuff used on furniture) on wood channel glides keeps them moving without adding oil that swells or stains the wood.
- Steel hinges and metal latches: a dry-film lubricant like Blaster Dry Lube. It penetrates, then dries to a non-sticky film. Regular oil-based lubricants attract the fine dust that blows through Henderson all spring and coat the hinge in grit.
- Locks and key cylinders: graphite or a dedicated lock lubricant, applied sparingly. These aren’t in the dust path the same way, but a dry product still beats oil.
Avoid entirely: WD-40 as a long-term lubricant (it’s a penetrant and solvent, not a lasting lubricant – it can actually wash out factory grease), petroleum jelly, and any aerosol that leaves a wet film. They work for a week and then collect a season’s worth of dust. One more note: don’t over-lubricate. A light film is enough. If you can see the product pooling in a track, you’ve used too much and you’re about to trap dust.
Reading Caulk and Glazing Compound for UV Damage
Sun is the great destroyer of window seals in Henderson, and it fails them in a predictable way. Understanding the failure tells you when recaulking is mandatory and when it’s just cosmetic – a distinction that saves both money and unnecessary work.
How to inspect: start with your hands and eyes, not a tool. Caulk that’s failing shows three signs. First, it loses its rubbery feel – press a fingernail into it and instead of denting and springing back, it’s hard or crumbly. Second, it pulls away from one surface, leaving a visible gap or shadow line at the frame-to-stucco joint. Third, it cracks – hairline cracks that open up as the material shrinks under UV. Glazing compound on wood windows fails the same way: it dries, cracks, and eventually falls out in chunks, exposing the glass edge to water.
Mandatory vs. cosmetic:
- Mandatory: any gap that lets water behind the caulk line, any missing or crumbled glazing compound, any caulk joint that’s separated from the frame or wall. These will leak. Fix before monsoon.
- Cosmetic: discoloration, mild surface crazing that doesn’t separate, and paint peeling on the frame itself. These can wait, but note them.
Product recommendation: for high-movement joints – where a frame meets stucco and the two expand and contract at different rates – use a flexible, paintable product like Sashco Lexel rather than a rigid silicone. Rigid caulk cracks at the joint when the materials move. For glazing compound on wood windows, use a quality glazing putty rated for exterior use. Cut out the old material completely before recaulking; caulking over failed caulk just hides the problem for one more season.
One caution on ladders and second-story windows: exterior seal work above the first floor involves height and, in Henderson, heat. If you’re not confident on a ladder or the window is more than a single story up, this is work for a trained professional with fall protection. It’s a genuine fall risk, not a chore to muscle through.
The Maintenance Log Your Window Warranty Expects
Windows from major manufacturers – Milgard, Andersen, PGT – generally carry strong warranties, but those warranties have maintenance conditions. Homeowners are usually surprised to learn that a warranty claim can be denied because there’s no record the homeowner did basic upkeep. The warranty typically requires you to keep the product reasonably maintained and to document it. The exact terms vary by brand and product line, so read your own warranty document – but the maintenance it asks for is almost always the same short list.
What the major warranties generally expect you to do and record:
- Keep exterior sealant (caulk and glazing) intact and repair it when it fails.
- Keep tracks and hardware clean and properly lubricated.
- Maintain weatherstripping and door sweeps.
- Clean glass and frames with non-abrasive products (abrasive cleaners can void finish warranties).
- Address water intrusion promptly.
The log format that satisfies this: a simple running document, one entry per maintenance action, with four fields – date, what was inspected or repaired, which window or door (use room and location, not “the west one”), and a photo. Keep it in a phone note, a spreadsheet, or a folder. The photo is the part most people skip and the part that carries the most weight in a claim, because it shows the condition on the day you checked. A dated photo of a clean, freshly caulked joint before monsoon season is exactly the evidence a warranty department wants when you file a claim six months later. This is the same principle behind the documented photo record we deliver on every Henderson visit – evidence, not memory.
If you have a contractor do the maintenance, ask for the log and photos as a deliverable. A preventive maintenance visit that leaves you with no record has done half the job.
DIY vs. a Contractor’s Preventive Visit: The Honest Cost
Both paths work, and the honest answer is that DIY is fine if you’re comfortable on a ladder and diligent about the spring pass. Here’s the real cost breakdown so you can decide with numbers rather than a sales pitch.
DIY annual cost:
- One tube of quality exterior caulk: $8 – $15.
- One can of silicone spray and one dry-film lubricant: $15 – $25, and they last two or three seasons.
- Replacement weatherstripping and door sweeps: $15 – $40 per door.
- Glazing putty if you have wood windows: $10 – $20.
- Your time: one full Saturday in spring, one half-day in fall.
Total out-of-pocket for a typical Henderson house: roughly $50 – $100 in materials per year, plus your weekend.
What a preventive maintenance visit covers that DIY often doesn’t:
- Every window and door inspected, including second-story exteriors you may not want to reach.
- Caulk cut out and replaced properly, not touched up over failed material.
- Hardware serviced and adjusted, including sliding door rollers that need realignment.
- Early leak detection – probing for soft drywall and water staining, not just visible cracks.
- The written maintenance log and photo record a warranty claim needs.
The trade-off is real: DIY is cheaper, a professional visit is more thorough and leaves documentation. Where homeowners in Henderson most often get burned is skipping the second-story windows entirely, then discovering a failed seal on a second-floor frame after monsoon rain. If you’ve got a two-story house and you’re not comfortable up there, that’s the argument for having someone service the upper level, even if you do the ground floor yourself. The dollar figures vary by home size and condition; the right way to get a real number is a written estimate, and we deliver those free.
Doors Need Their Own Line in the Schedule
Doors get neglected in most maintenance guides, but in Henderson they take a beating from heat, dust, and daily use. An exterior door is the same kind of seal system as a window – frame, weatherstrip, threshold, hardware – and it fails on the same schedule. Add these to your calendar:
- Spring (March – April): check the exterior caulk around the door frame, especially the threshold and the bottom corners where water pools. Recaulk any gap.
- May: lubricate hinges and the lockset with a dry-film product. Check that the door latches cleanly without lifting or shoving.
- October: test weatherstripping with the dollar-bill method. Inspect the door sweep at the bottom – in a dusty climate these wear fast because they scrape grit every time the door swings.
- November: replace worn sweeps and weatherstripping. Check the threshold for gaps and adjust or replace as needed.
Sliding glass doors deserve extra attention. Their rollers take the weight of the door, and once they wear or get gummed up with dust and the wrong lubricant, the door drags, jumps the track, and eventually won’t close fully – which means it won’t seal, which means it leaks. Clean the track, then silicone-spray the rollers. If the door is already dragging, the rollers may need replacing, which is a job best left to someone with the right tools. Interior doors matter less for weather protection but still benefit from a light hinge lubrication and a check that latches engage; a sticking door in Henderson is often a sign of a seasonal humidity swing, not a real problem. Once a door’s seal and hardware are sound, a separate question is how well the opening is built into the house – something worth looking at if you’re planning bigger changes, like the openings involved in a Home Additions & ADU in Henderson project, where door and window placement is planned from the start.
Common Mistakes to Avoid
- Following a fall-only schedule. The national guides put the big inspection in autumn. In Henderson that misses the entire summer UV and monsoon cycle. Do the heavy exterior pass in spring.
- Caulking over failed caulk. A fresh bead over cracked or separated material hides the gap for one more season and then fails worse. Cut the old caulk out first, every time.
- Using grease or WD-40 on tracks and hinges. Tacky products collect Henderson’s fine dust and turn into grinding paste. Use silicone spray, paste wax, or dry-film lubricant only.
- Going up a ladder in June or July. Exterior work above the ground floor in Henderson’s summer heat is a genuine heat-illness and fall risk. Do it in spring or early fall, or hire it out.
- Not documenting anything. A warranty claim with no dated photos or log is a hard sell. Keep the record as you go.
- Ignoring second-story windows. The frames you can’t easily reach are the ones that fail unnoticed and leak into the wall.
- Skipping the post-monsoon check. The September inspection is where you catch leaks before they spread. Nine months of waiting lets a $50 problem become a $2,000 drywall repair.
See the difference
 Before
 After
 Before
 After
 Before
 After
When to Call a Professional
Some of this work is a homeowner’s weekend; some of it isn’t. Call a professional if any of these apply: water staining or soft drywall under a window sill, which means a leak has already been running behind the wall; a failed seal on a second-story or higher window that requires a ladder; glazing that’s come loose on a large or high window; a sliding door that’s jumped its track or won’t close flush; or a warranty claim you’re preparing and want properly documented. Any window or door work above the first floor is also a fall hazard worth taking seriously – and in Henderson’s heat, exterior work in summer adds heat-illness risk on top of it. Rowan Construction Group Henderson offers free estimates in Henderson – call (833) 954-5920 and we’ll walk the openings, show you what we find in a dated photo record, and hand you a written price before any work starts.
Frequently Asked Questions
Twice a year for the main passes, plus quick storm checks. The critical pass is spring – March and April, before summer heat – and the second is in September, after monsoon season. Hardware lubrication in May and a weatherstrip audit in October and November round it out. In Henderson’s climate, the spring timing matters more than the frequency.
Yes. Henderson’s damaging season is summer – 110°F UV that dries and cracks exterior caulk – followed by monsoon rain that finds every gap. Seals have to be sound before May, not after. A fall-only schedule inspects the seals after the damage has already been done and the rain has already tested them.
Silicone spray for vinyl and metal tracks, paste wax for wood channels, and a dry-film product like Blaster Dry Lube for steel hinges. Avoid WD-40 as a long-term lubricant, petroleum jelly, and any greasy product – in a dusty climate they trap grit and make tracks worse. Apply a thin film, then wipe off the excess.
It can be. Milgard, Andersen, PGT, and most major manufacturers require you to maintain the product and document it. Read your own warranty terms, but the practical protection is a simple log – date, what you did, which window, and a photo – kept as you go. Dated photos carry the most weight in a claim.
Test it with your fingers. If the caulk is hard, crumbly, or has pulled away from the frame or wall leaving a gap, it’s mandatory and must be replaced before monsoon. If it’s just discolored or lightly crazed without separating, it can wait. On high-movement joints, use a flexible product like Sashco Lexel; rigid silicone cracks when the frame and stucco expand at different rates.
Not the whole house every year. Most homes need spot touch-ups on failing joints in spring, and a full cut-and-replace only where the caulk has actually failed. The annual pass is about finding the handful of failing joints before they leak, not recoating every window. A house in good shape often needs a tube of caulk and an afternoon.
The Bottom Line
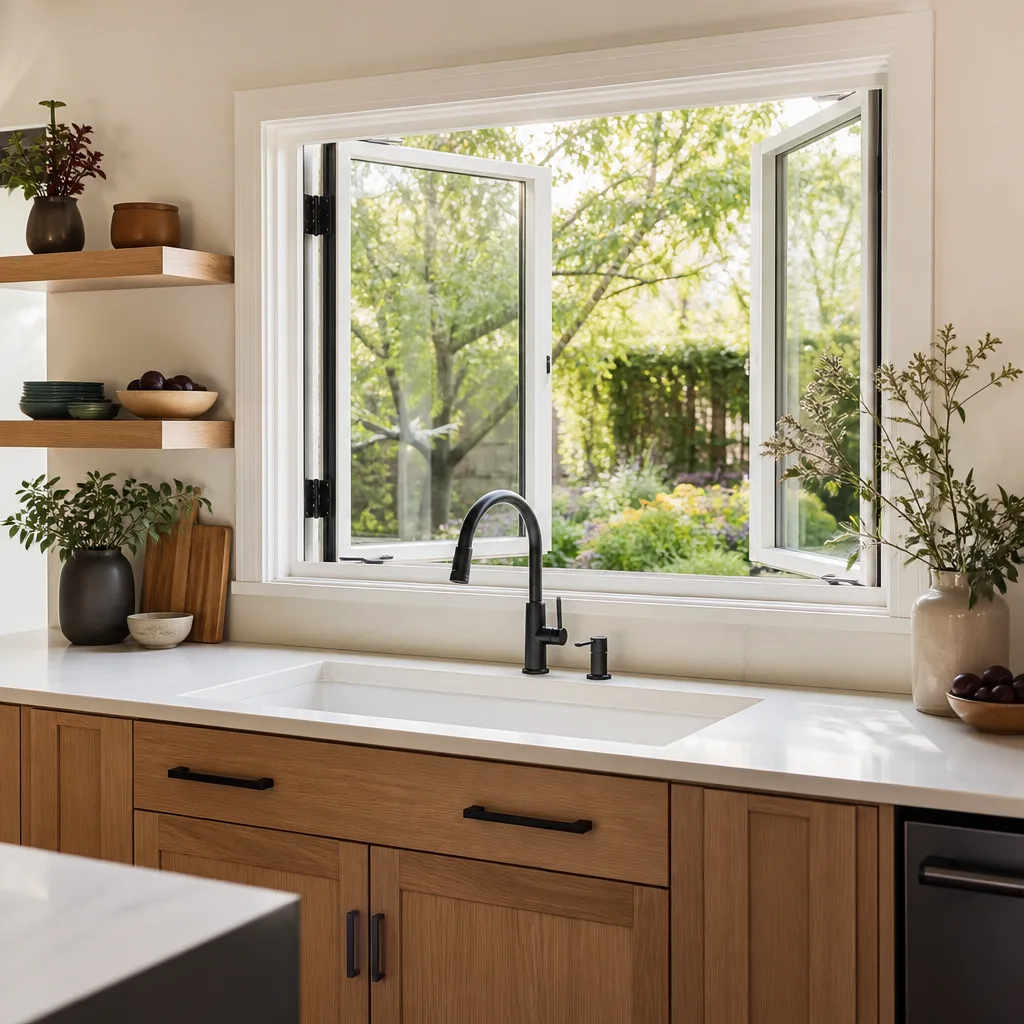
Window and door maintenance in Henderson follows a spring-first calendar: seal inspection in March and April, hardware lubrication in May, a post-monsoon truth check in September, and weatherstrip work in October and November. Lubricant choice matters more than most guides admit – silicone spray, paste wax, and dry-film products, never grease. Caulk that’s hard or separated is a mandatory fix before summer. And a simple dated log with photos is what keeps a Milgard or Andersen warranty claim alive. Do the spring pass diligently and most years are cheap. Skip it and you’re paying for drywall in September. When seals fail up high or water’s already found a way in, a documented professional visit pays for itself. If you’re weighing bigger work around those openings – a new door wall, a bump-out, an addition – our Driveway & Pavers in Henderson and Fence Installation in Henderson guides show the same evidence-first approach to exterior work, and we can scope windows and doors alongside a larger project.
If you’d rather have the calendar handled with a written price and a photo record, call Rowan Construction Group Henderson at (833) 954-5920 for a free estimate. We’ll inspect every opening, document what we find, and put the price in writing before anyone picks up a caulk gun – and it’s backed by our 365-Day Done Right Promise. Have a competitor’s written estimate? We’ll review it line by line, free.
Written by the team at Rowan Construction Group Henderson.