Last updated November 18, 2026
Free written scope consultation - allowances, timeline, and change-order rules on paper before a single trade is scheduled
Home Additions & ADU Troubleshooting: Common Problems and How to Fix Them
A new addition that feels stuffy or stubbornly hot in Henderson summers is almost always a duct-sizing problem, not a construction mystery. When an existing HVAC system gets extended to cover new square footage without a Manual J load calculation, the equipment and ducts end up moving more air than they were sized for, and no amount of thermostat fiddling fixes it. What makes this worth understanding is the timeline: most serious addition and ADU failures don’t show up during the final walkthrough. They surface 12 to 36 months later, as comfort complaints, moisture stains at the seam where new meets old, or a breaker that trips every time the ADU tenant runs the dryer. This guide walks through the five most common post-construction failures, how to trace each one to its cause, how to use the original permitted plans and Nevada’s defect statutes, and how to get a contractor back on site without turning it into a legal fight.
Quick Answer
Most home addition and ADU problems in Henderson trace back to decisions made during design and permitting, not to sloppy framing on the day of the pour. The five failures we see most often are HVAC undersizing from a missing Manual J calculation, roof leaks at the existing-to-new tie-in, floor level mismatches at the transition threshold, new circuits tripping because the panel wasn’t load-calculated, and stucco cracking at the seam where the addition meets the original wall. Nearly all are diagnosable by pulling the permitted plans and comparing the as-built condition to what was approved.
Styles & brands we work with
- Kitchen remodeling
- Bathroom remodeling
- Home additions & ADU
- Roofing
- Windows & doors
- Driveway & pavers
- Fence
Table of Contents
- Why Your New Room Is Never Comfortable: The HVAC Undersizing Problem
- Roof Leaks at the Existing-to-New Tie-In
- Floor Level Mismatch at the Transition Threshold
- Electrical Tripping on the New Circuit
- Stucco Cracking at the Seam
- How to Use the Original Permitted Plans to Diagnose the Problem
- Nevada’s Defect Statutes: Your Legal Timeline
- Getting a Contractor to Return: A Step-by-Step Process
- ADU-Specific Troubleshooting: Water Pressure and Subpanel Capacity
Why Your New Room Is Never Comfortable: The HVAC Undersizing Problem
If one room in your expanded house runs hot in July and cold in January while the rest of the house feels fine, the ductwork serving that room was probably sized by eye rather than by calculation. A Manual J load calculation measures heat gain and heat loss for the whole envelope using window orientation, insulation values, ceiling height, and local design temperatures. In Henderson, where summer design temperatures push past 105°F, that calculation matters more than it does almost anywhere else in the country. Henderson Building and Safety requires the calculation on the permit plans for an addition, but inspectors rarely verify the numbers against the installed equipment in the field.
The failure pattern usually looks like this: the original system had enough capacity for the original footprint, a contractor extended the trunk line and added a couple of supply registers to the addition, and the static pressure in the ductwork rose because the blower is now pushing against more resistance. The room gets some air but never enough. Meanwhile the rest of the house gets slightly less than it used to, which nobody notices until the first August.
To confirm the diagnosis before you call anyone, check three things:
- Pull the permit file and look for the Manual J and Manual D documents. If they’re missing, that’s your starting point.
- Compare the tonnage on the outdoor condenser nameplate to the square footage now being served.
- Measure the air temperature at a supply register in the addition versus a register in the original house after the system has run 20 minutes. A gap of more than 8 degrees usually points to duct or balance issues rather than a failing unit.
A proper fix is rarely “bigger AC.” It’s usually a rebalance, a dedicated duct run, or in some cases a ductless mini-split serving the addition independently. That’s a design conversation, and it’s worth having with a contractor who will put the solution in writing before anyone cuts into drywall. The same discipline applies whether you’re troubleshooting a small addition or a full Home Additions & ADU in Henderson project.
Roof Leaks at the Existing-to-New Tie-In
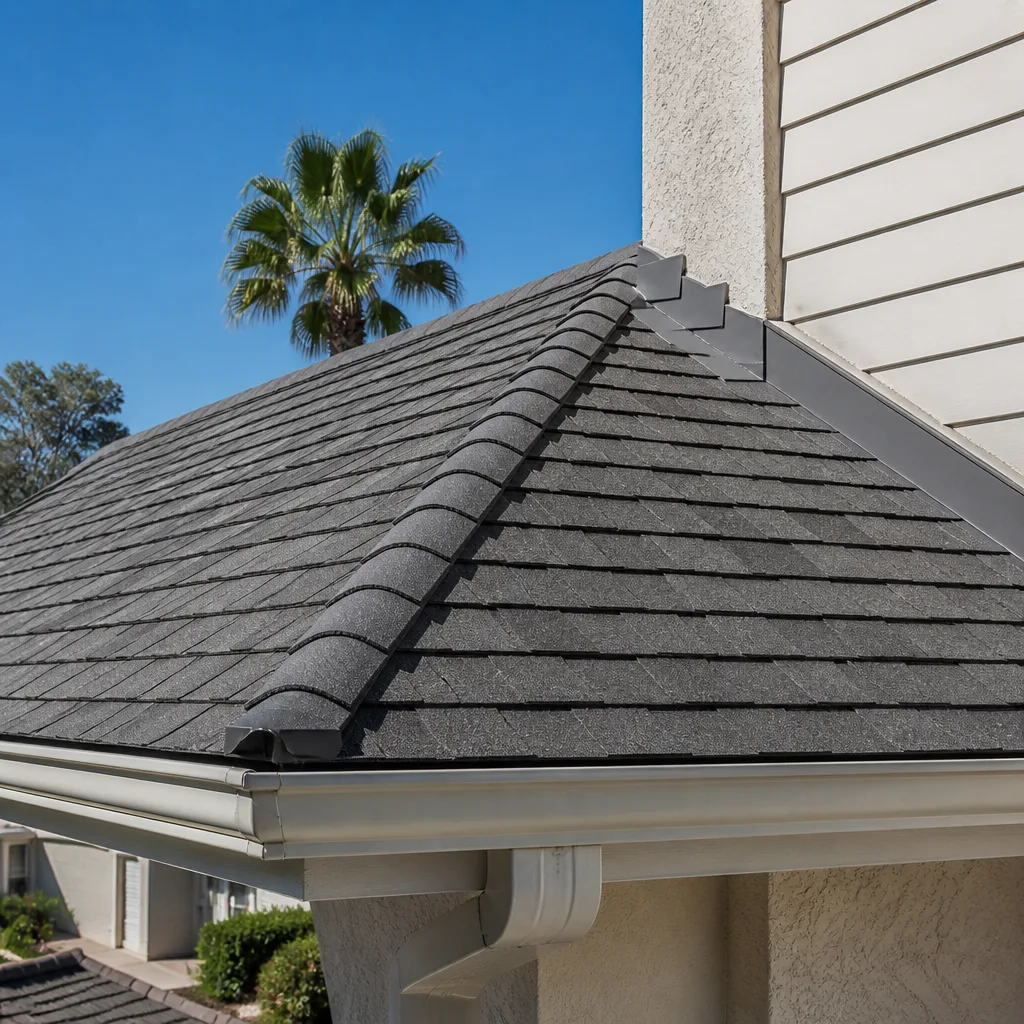
The seam where a new roof plane meets the original roof is the single most common leak point in any addition, including ADUs. Water doesn’t need a hole; it needs a path. Where the new flashing meets the old, a half-inch gap in the step flashing, a valley that drains slightly wrong, or underlayment that wasn’t lapped in the correct direction will let water in during a monsoon downpour but stay dry through a garden hose test. That’s why so many Henderson homeowners discover the leak during the second summer rather than the first.
When we look at a tie-in leak, we’re checking:
- Whether the step flashing was woven into the existing shingle course or nailed on top of it (the second is wrong and common).
- Whether the ice-and-water shield extends at least 6 inches up the existing slope and 6 inches onto the new roof deck.
- Whether the valley geometry sends water toward the new or the old gutter, and whether that gutter was resized for the added roof area.
- Whether the shingle layer count at the seam matches – a new 30-year architectural shingle meeting a 15-year-old three-tab layer will telegraph and can crack the older course.
Roofing materials matter here. A new tie-in done with GAF Timberline or Owens Corning Duration shingles and matching accessory components will outlast a generic substitution, and the labels are printed on the bundle wrapper so you can verify what actually went on the roof. If the tie-in is already failing, the repair typically starts around $800 and climbs from there depending on how much decking has to be opened up.
Floor Level Mismatch at the Transition Threshold
A step up or step down of half an inch between the original house and the addition looks like a small cosmetic issue. It isn’t. It usually means the subfloor heights were never reconciled before framing, which means the finish floor heights were never reconciled either, and every door swing, baseboard, and threshold detail downstream inherited the mistake. In Henderson, where a 1970s ranch may have a slab on grade at one elevation and a new stem wall at another, this is common enough that it has a name among framing crews: the “transition surprise.”
The most common causes, in order:
- A different subfloor thickness was used in the addition than the original (3/4-inch plywood meeting 5/8-inch OSB).
- The addition’s slab was poured slightly high or low to the original due to grade conditions.
- The finish flooring changed from tile to engineered wood or vice versa, and nobody adjusted the subfloor to compensate.
- Settling occurred post-construction because the foundation footings for the addition were bearing on fill rather than native soil.
If the mismatch is stable – no new movement over a year – it’s typically fixable with a reducer strip or a rebuilt threshold, often under $400. If it’s growing, that’s a foundation conversation, and you need an engineer rather than a carpenter.
Electrical Tripping on the New Circuit
An addition that trips the breaker every time a space heater, hair dryer, or window AC turns on has an overloaded circuit, and it’s almost always traceable to a panel that was never load-calculated for the added demand. The National Electrical Code requires a load calculation before adding branch circuits, and in practice we see a lot of ADUs and additions where the electrician tapped an existing circuit shared with the original house because pulling a new home run was more work.
You can usually tell what happened by opening the panel and reading the breaker schedule. If the new room’s outlets share a 15-amp breaker with a bedroom in the original house, that’s a code issue, not a design choice. If a dedicated 20-amp circuit exists but trips under normal load, check whether a GFCI upstream is tripping (common in kitchens and baths) or whether the wire gauge matches the breaker size (a 14-gauge wire on a 20-amp breaker is unsafe).
The fix depends on what you find. Adding one dedicated 20-amp circuit for a bedroom is a few hundred dollars. Reworking a subpanel or upgrading the service to 200 amps to support an ADU’s heat pump, EV charger, and range can run $3,000 to $8,000 depending on the utility connection. Electrical work at the panel is not a DIY job – the safety stakes are real, and a licensed electrician is worth every dollar.
Stucco Cracking at the Seam
Hairline stucco cracks are normal anywhere in Henderson, but cracks that follow the seam line between an addition and the original wall are telling you something specific: the two structures are moving differently, or the control joint at the seam wasn’t installed correctly. The stucco system needs a control joint at every structural transition, and it needs to be a proper metal accessory with the lath broken through it, not a decorative line troweled into the finish coat. When the control joint is missing, the seam becomes the weakest point in the wall and cracks wander from it.
What to look for:
- Cracks wider than 1/16 inch, or any crack you can slip a business card into.
- Stucco that sounds hollow when tapped along the crack – that means it’s separated from the lath.
- Water staining below the crack on the wall or on the foundation, which means water is getting behind the system.
- Weep screed alignment – the metal flashing at the bottom of the stucco that lets moisture escape. New construction that forgets the weep screed traps water in the wall cavity.
Cosmetic crack sealing runs a few hundred dollars. Cracking caused by missing control joints or wrong lath is a stucco repair that can run $2,500 to $6,000 depending on the wall area involved. Cracks caused by structural movement need an engineer before anyone patches anything.
How to Use the Original Permitted Plans to Diagnose the Problem
Every permitted addition and ADU in Henderson has a plan set on file with Henderson Building and Safety, and that file is the single most useful diagnostic tool you have. It tells you what the contractor committed to in writing, which is the difference between a construction defect (they built it wrong) and an as-built deviation (they didn’t build what was approved). Those are two different conversations with two different remedies.
Pulling the records is straightforward. Most jurisdictions, including Henderson, allow a homeowner or their authorized agent to request a copy of the permit file for a records fee, typically $30 to $75. You’ll want the full plan set, the inspection history, and any plan revisions. Ask specifically for the “approved for construction” stamped set – that’s the version that has legal standing.
Once you have the file, read it in this order:
- Scope of work page. Does it name the specific additions you’re now troubleshooting? If the plan doesn’t include the room causing the problem, that’s an unpermitted addition and the situation is different.
- Mechanical pages. Look for the Manual J and Manual D calculations and the specified HVAC equipment tonnage.
- Electrical pages. Look for the panel schedule and load calculation, and the specific circuits assigned to the addition.
- Structural and framing pages. Look for the roof tie-in detail, the control joint locations, and the foundation bearing notes.
- Inspection history. Every inspection has a date, an inspector, and a result. A “rough framing approved” stamp is your proof that the structure was reviewed by the city.
Take photos of the actual conditions with timestamps enabled on your phone. Now you have a comparison, which is what any contractor or attorney will need to see.
Nevada’s Defect Statutes: Your Legal Timeline
Nevada law gives homeowners two different windows to pursue a construction defect claim, and understanding which one applies shapes every conversation you have from here. The 10-year window under NRS 11.202 covers “latent” defects – problems that were not discoverable at the time of completion and are typically structural or systemic, like a foundation that settles or a roof tie-in that eventually leaks. The 6-year window under the same statute family covers “patent” defects – problems that were apparent or should have been apparent at the walkthrough, like visible cracks or a floor height mismatch.
The practical takeaway is that HVAC, moisture intrusion, and electrical capacity problems usually fall into the latent bucket because they can genuinely take a year or more to show themselves, which is exactly why the timeline exists. That said, this is a legal question, not a construction question, and any homeowner with a real dispute should consult a Nevada construction attorney. What we can tell you as a contractor is this: the better the paper trail, the simpler the conversation. Signed change orders, saved permit files, and dated photographs matter more than almost anything else you can bring.
One last note: the clock generally starts at the date of substantial completion, not the date you noticed the problem. If you’re inside the first few years of a new addition or ADU and something feels wrong, don’t wait. A documented conversation now is worth far more than a documented argument later.
Getting a Contractor to Return: A Step-by-Step Process
Contractors who do good work stand behind it. Contractors who don’t will stall. The difference between a fast resolution and a frustrating one is usually the shape of your first contact. Here’s the process that works, whether you’re calling the original builder, a new contractor, or the manufacturer of a specific component.
- Put the request in writing. Email or text, not a voicemail. State the date you noticed the issue, the specific problem, and the warranty clause you believe applies. Keep it short and factual.
- Attach the evidence. Photos with timestamps, the relevant page from the permit file, and any prior communication about the same issue. Screenshots from your phone’s camera roll preserve the time and date.
- Cite the specific clause. If the contract has a workmanship warranty, quote it. If it names a default window – “contractor will respond within 10 business days” – reference it. Vague requests get vague responses.
- Give a reasonable deadline. Not “ASAP.” Name a date, typically 10 business days out, and say what you’ll do if the contractor doesn’t schedule a visit by then (escalate to the state licensing board, engage a third-party inspection, etc.).
- Escalate if ignored. Nevada’s State Contractors Board has a complaint process, and so does the manufacturer of the products involved. Documentation makes both processes fast.
If you’re buying a home with an existing addition or ADU, ask the seller for the permit file and the original contract up front. A firm like Rowan Construction Group can provide a free second opinion on any written estimate, which is a low-cost way to spot a warranty gap before you sign. Whether you’re hiring for the first time or fixing someone else’s work, the written record is what protects you. That’s the same logic that guides a straightforward Driveway & Pavers in Henderson or Fence Installation in Henderson project – the paperwork shouldn’t be an afterthought.
ADU-Specific Troubleshooting: Water Pressure and Subpanel Capacity
ADUs create two troubleshooting categories that a standard addition usually doesn’t: shared utilities that have to serve two households simultaneously, and a target renter who may not have the same conservation habits as the original owner. Both failures show up under real use, not during inspection.
Water pressure drop when both units run. If the shower in the main house turns cold when the ADU tenant starts the washing machine, the shared supply line was probably sized for one household. A 3/4-inch main serving both units is common and usually works, but the branch feeding the ADU may be 1/2-inch PEX or copper, which chokes flow when it’s the only path to fixtures on the other side. The fix is either a dedicated line from the meter, a pressure-balancing valve at the water heater, or a flow-restricting shower head schedule – the first is expensive, the second is moderate, the third is free and worth trying before you spend money.
Subpanel overload when the tenant uses high-draw appliances. An ADU typically gets its own subpanel fed from the main. If the subpanel wasn’t sized for a range, a dryer, a heat pump, and an EV charger running simultaneously, breakers will trip. A 100-amp subpanel is common for a modest ADU but can be marginal in a Henderson summer when the heat pump is working hard. Check the panel’s bus rating and the feeder wire gauge before adding any load – and if the feeder needs upsizing, budget the $2,500 to $5,500 that typically involves.
Every ADU project needs the plumbing and electrical design done as if it were a small separate house, not as an extension of the main house. When the design is right, the ADU works. When it’s fast, the ADU works until someone puts a load on it.
Common Mistakes to Avoid
- Accepting a verbal warranty. A workmanship warranty that isn’t in the contract isn’t a warranty. Get the specific terms in writing, including the response window, before work begins.
- Skipping the Manual J because “the system has always worked fine.” The system was sized for the original house. When you add 600 square feet to a Henderson home, the calculation changes even if the equipment doesn’t.
- Not pulling the permit file before hiring a repair contractor. The file tells you what was supposed to be built. Any contractor who doesn’t ask to see it is guessing.
- Patch the crack before identifying the cause. Stucco cracks at the seam mean something. Cosmetic sealing without finding the source just delays the next crack by one monsoon season.
- Assuming an ADU subpanel is ready for anything. A subpanel that passed inspection during a house with one occupant will struggle when a tenant runs the dryer and the EV charger at the same time.
- Waiting past the first year to report a moisture issue. Water damage compounds. A $400 flashing repair at year one is a $6,000 wall rebuild at year three.
- Skipping the change order on the fix. If a contractor quotes a repair and then verbally adjusts scope mid-job, get the change order signed before work continues. That’s the discipline that keeps every project within a few percent of its agreed price.
See the difference
 Before
 After
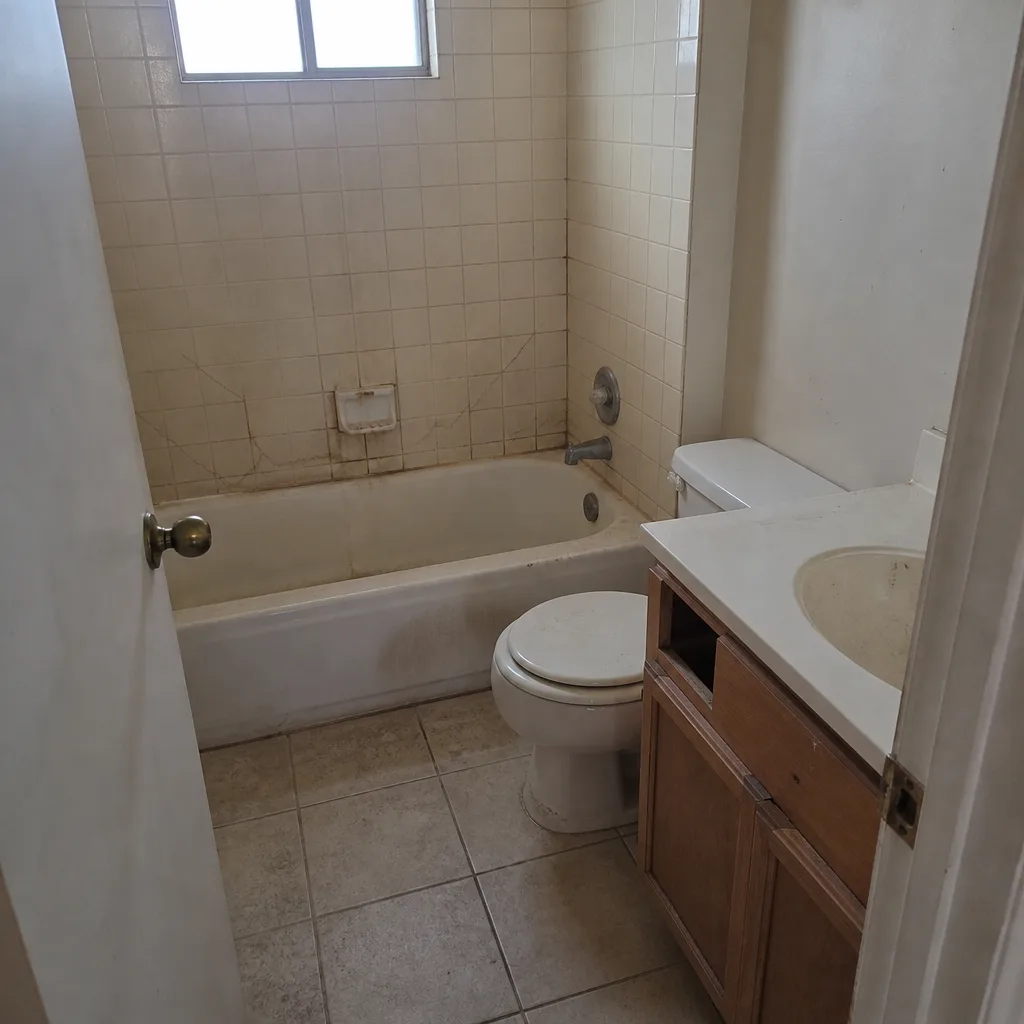 Before
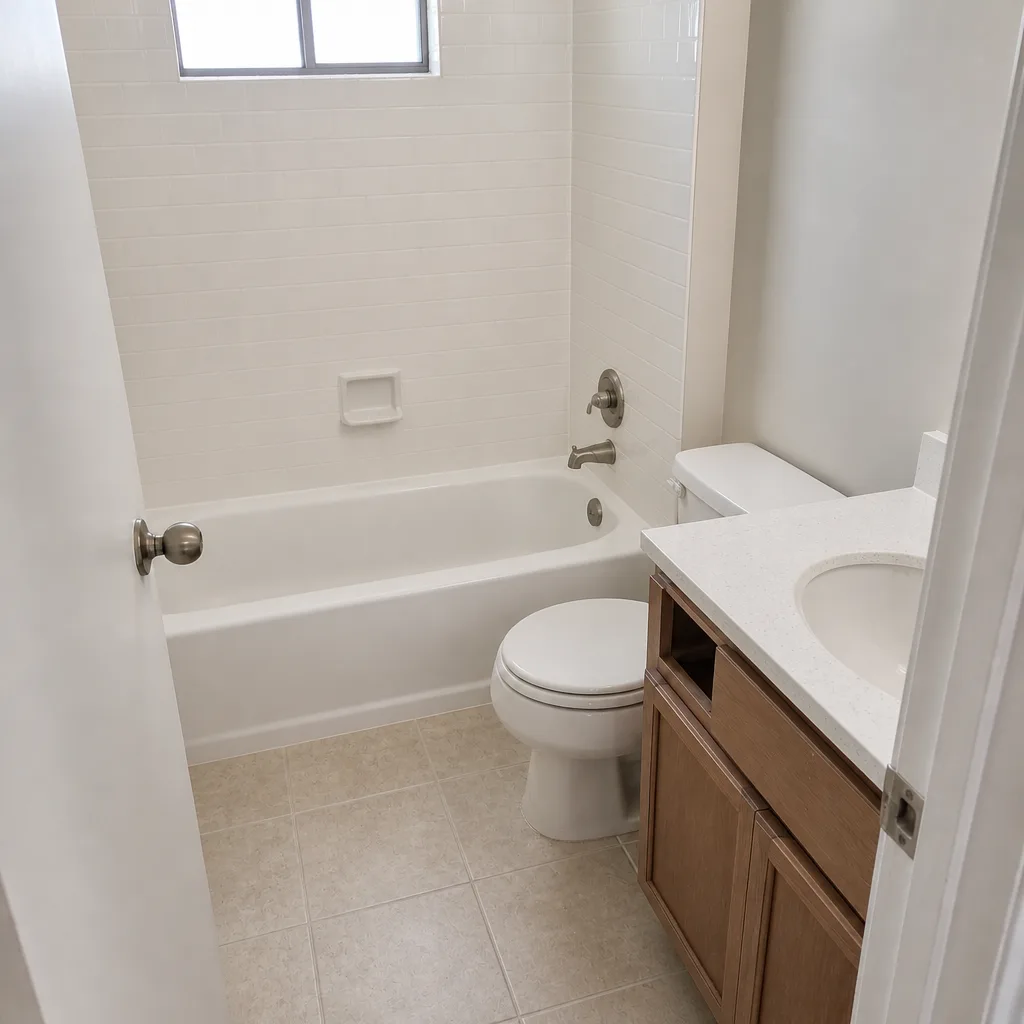 After
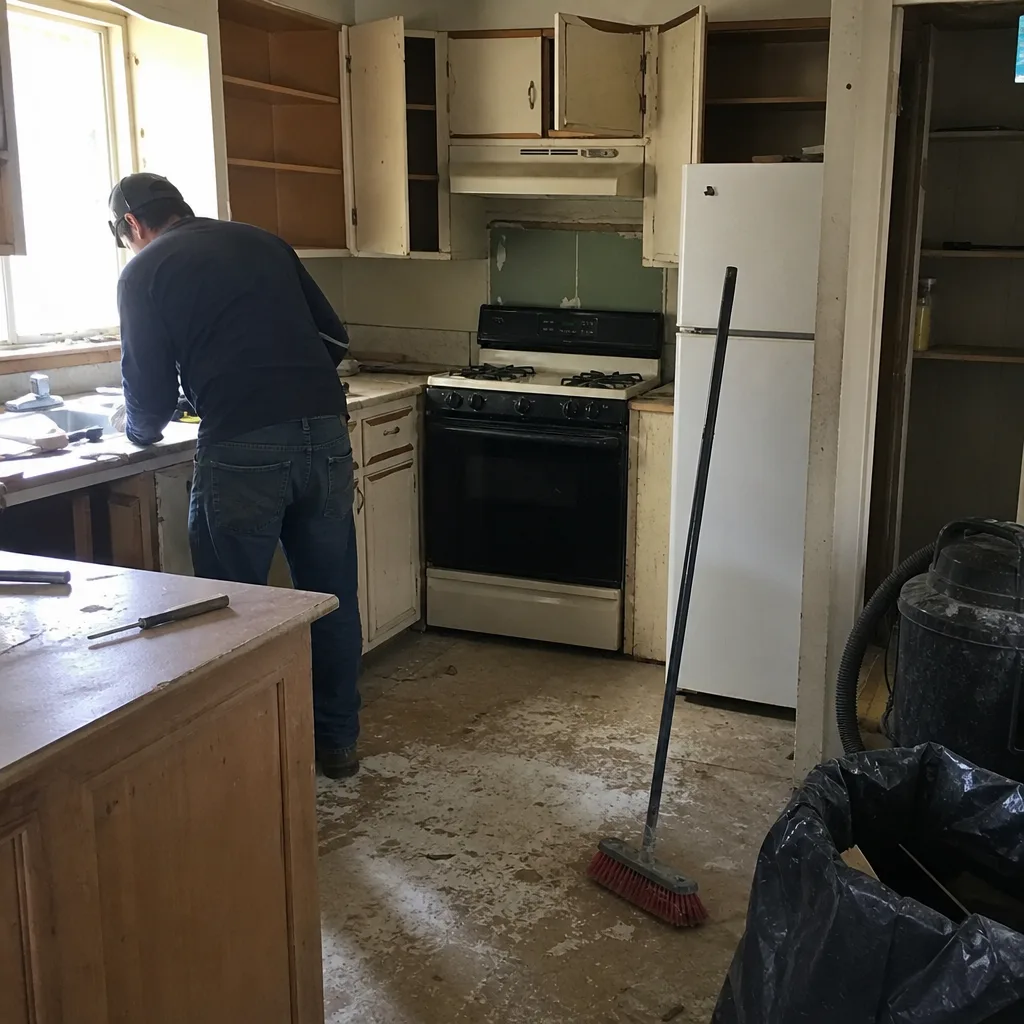 Before
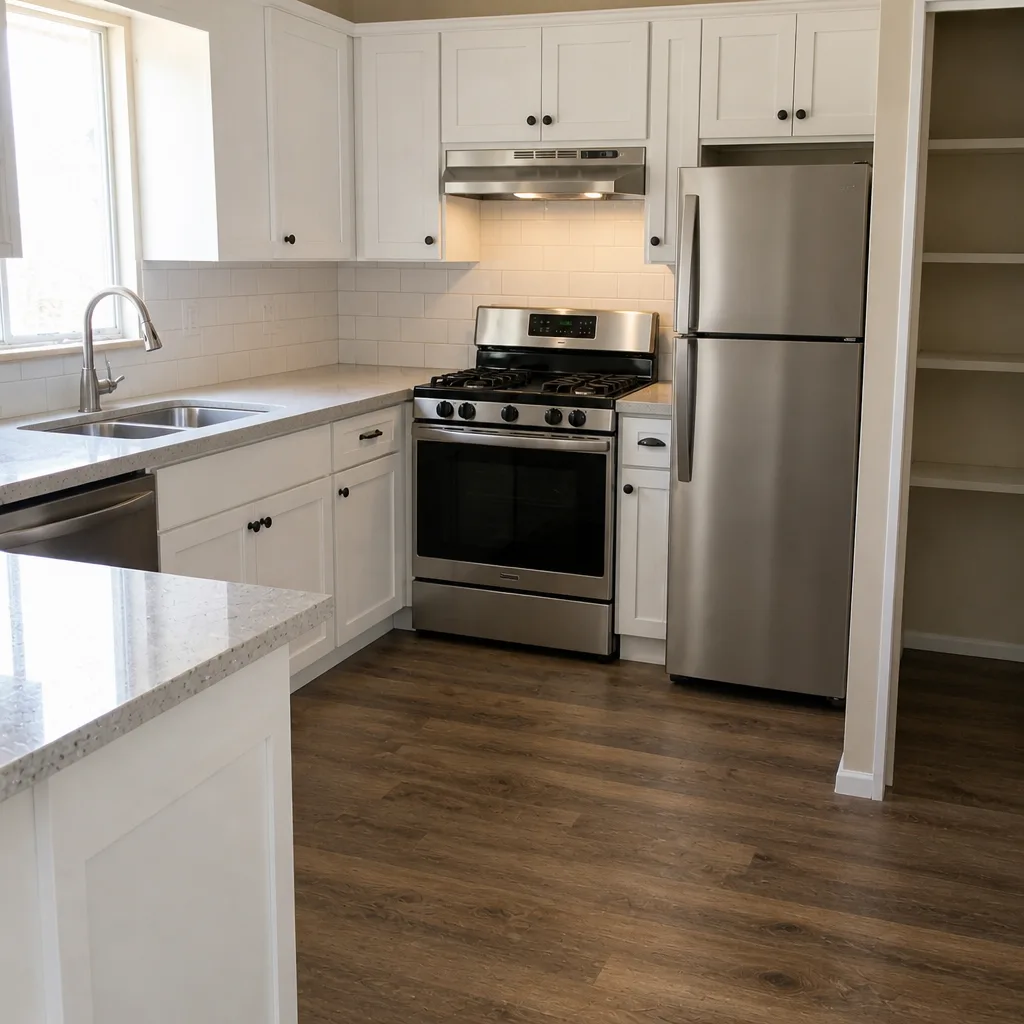 After
When to Call a Professional
Some addition and ADU problems can wait for a scheduled appointment. Others can’t. Call a professional immediately if you see active water intrusion during a storm, smell burning or see scorch marks at an outlet, notice stucco cracking that widens week over week, or feel a soft spot in the floor near a plumbing wall. Those signal conditions that get worse in a hurry. On the scheduled side, an HVAC comfort imbalance, a persistent breaker trip, or a floor transition that isn’t moving are all fine to handle on a normal call-out. Rowan Construction Group Henderson offers free estimates in Henderson – call (833) 954-5920 to schedule a look at whatever’s bothering you. Our technicians have up to 19 years of experience, and every visit includes a documented photo record as a standard deliverable, so you leave with evidence of what was found and what was done.
Frequently Asked Questions
Typical fixes run $600 to $1,800 for rebalancing and duct modification, $3,500 to $6,500 for a dedicated mini-split system serving the addition, and $8,000 or more if the main system needs replacement to meet the Manual J load. The right answer depends on whether the problem is duct sizing, equipment capacity, or both. Call (833) 954-5920 for an exact quote – estimates are free and come in writing before any work starts.
It depends on what the warranty clause says. Most workmanship warranties on roofing run 5 to 10 years, but they may exclude leaks traced to design rather than installation. If your contract doesn’t specify a workmanship term, you may still have recourse under Nevada’s 10-year latent defect statute, NRS 11.202. Pull the original contract and the permit file, then talk to a Nevada construction attorney if the contractor won’t return.
No – panel work and branch circuit additions require a licensed electrician, and Nevada code requires a permit for the work. Diagnosing whether the problem is an undersized breaker, a shared circuit, or a ground fault is useful to know before you call, but the actual repair belongs in a licensed trade’s hands. The safety stakes are too high to do otherwise.
Measure it. Cracks under 1/16 inch that haven’t grown in a year are usually cosmetic. Cracks wider than that, cracks that widen over weeks, or anything where tapping the stucco produces a hollow sound are worth a professional inspection. Cracks that follow the seam line specifically suggest a missing or failed control joint, which is a construction defect, not normal settling.
A permitted addition has a building plan on file with Henderson Building and Safety, an inspection history, and a certificate of occupancy that legally recognizes the added square footage. An unpermitted addition typically has none of that, which creates problems for insurance, resale, and any warranty claim. If you’re troubleshooting an addition and there’s no permit file, treat that as your first problem to solve before anything else.
Most ADU subpanel upgrades run $1,800 to $4,500, and full service upgrades to 200 amps can land between $3,500 and $8,000 depending on the utility connection and distance from the meter. The cost driver is the feeder wire run – a panel swap is cheap, but a new feeder from the main to the ADU is where the money goes. Call (833) 954-5920 for a free written quote after a site visit.
The Bottom Line
The failures we see most often in Henderson additions and ADUs – HVAC comfort problems, roof tie-in leaks, floor height mismatches, tripped circuits, and stucco seam cracks – all trace back to decisions made during design and permit, not during framing. Diagnosing them starts with pulling the permit file from Henderson Building and Safety and comparing the as-built condition to the approved plans. From there, the difference between a fast repair and a legal fight is documentation: written notice, dated photos, reference to the specific warranty clause, and a signed change order for the fix. Nevada’s 10-year latent defect statute and 6-year patent defect window define the legal timeline, but the contractor conversation happens long before any of that. Get it in writing, get it reviewed, get it fixed. If you’re researching how your addition or ADU fits into a larger Rowan Construction Group Henderson home plan or a similar exterior project like a Fence Installation in Henderson repair, the same discipline applies.
Call Rowan Construction Group at (833) 954-5920 to schedule your free estimate. Every project starts with a flat written price, a written scope, and a documented photo record – before anyone picks up a tool.
Written by the team at Rowan Construction Group Henderson.